12

What's a good strategy for reusing a sewing pattern without damaging it?

Say I have a pattern I like, I can fuse some interfacing to it to make it last longer. That said, the way I was taught to cut fabric from this pattern involves either using weights or pinning the pattern to the fabric and then cutting around it. Although I try to be careful, I always end up trimming the pattern slightly when I do this. Theoretically, I could trace the pattern first, then cut. At the moment, I use some fabric pencils, but I find the process kind of cumbersome and a pain because the pencils catch the fabric and everything moves about. I feel like there's a better way to accomplish this in case anyone has an idea. Thanks in advance!

1
  • Do your patterns have allowance included? If not you should add it anyway while cutting, so you cut about 1,5cm away from the pattern, problem solved.
    – Lehue
    Commented Aug 10, 2018 at 11:30

8 Answers 8

10

I regularly reuse my own patterns, as I myself have a few favorites that have been incredibly helpful to me. I use the technique I was taught in a theatrical costuming class:

  • When cutting the pattern out, cut closely around the outermost size lines (there is no need to be exact at this stage, but try not to leave huge chunks of tissue behind)

  • Pin or weight the pattern to the fabric as normal

  • When cutting the piece out, cut the fabric layers only. You'll do this by slipping your shears under the tissue, and cutting while following along with the appropriate sizing line above. If there are areas where there is a single line for all sizes, feel free to cut all layers at that point, but anywhere that's graded should be cut from underneath.

This takes a little getting used to, especially in tighter curves, but with a little practice it becomes second nature. And occasionally (especially in the beginning) you'll nick the pattern tissue, but a little clear tape can easily patch it up, and make it a bit more resilient in that area as well. Similarly, if you pin the pattern (as I do), eventually some of the pinhole areas will start to wear out, but again, they are easily patched with clear tape. I suggest clear over any other options as it makes it much easier to see your scissors as you're cutting underneath the tissue.

When you're done cutting, use a fabric marker or tailor's chalk to transfer your markings from the pattern as normal, patch the paper with tape where necessary, then carefully refold it (along existing lines if possible, or neatly if it's older and the lines are no longer easy to find). You can tuck it back into the paper envelope if the pattern will still fit, or use a gallon size plastic zipper bag to collect the pieces and envelope together for storage.

I have been using this technique, and some of the same pattern pieces, for years. One particularly useful pattern has been reused more times than I can count since 2003, and continues to be both usable and useful.

Sources: Instruction from a costume construction class, nearly two decades of experience.

2
  • 1
    This seems like not only a well-reasoned response, but a well-practiced one that is exactly the type of expert advice SE seeks. Not only does it include the technique, but how to avoid common issues with the technique that you'd only know from experience.
    – user24
    Commented Aug 10, 2018 at 15:50
  • Thank you @WebHead, It is indeed well-practiced, as I don't think I've actually cut a pattern out this millennium, but sew quite frequently.
    – Allison C
    Commented Aug 10, 2018 at 16:25
3

I would like to offer using clear packing tape. Believe it or not, if you cover the entire pattern pieces, not only will it strengthen them, but you can see through the tape, you can pin through it, and then actually reuse the same pin holes. It will withstand continuous pinning as well. This method will allow your pattern to last for years and years.

2

I actually provide acrylic cut outs for patterns. Strong, durable acrylic sheets laser cut to the pattern size/shape. My customers then use a rotary cutter to trace the outside of their acrylic template without worry of damaging their pattern. Vastly improves their repeatability, and speed. This niche market was brought to my attention by several veteran seamstresses and they all rave about it. Initially i was worried they would experience problems, as at my best i personally am a novice with a needle and was skeptical it could be profitable for them. It's apparently worth the cost as I continue to get repeat customers for new patterns and expanding my clientele. Has worked out well for hat makers as i can create reliable patterns, in multiple hat sizes, and they can simply pull the corresponding template.

You can find me on Etsy/Google/Facebook/IG at ZapLabs if this is something that interests you.

Don't know if i'm going to be necromancing this thread, but i feel this is one of the best answers to this question, if, you plan to be making a lot of the same pieces.

1

Iron heavy interfacing to the back of the pattern. This will make the pattern a lot more durable. This is a trick I learned from Nancy Zieman(RIP).

1

I technique that I have seen is tracing your self-drafted and favourite commercial patterns onto card stock. The pattern can then be used longer with out being badly damaged. As card holds it's shape you can also cut out darts for easy tracing.

A drawback though is that card stock is bulkier and takes up much more room than pattern tissue to store.

0

My mum transferred a couple of her favorite patterns to heavy interfacing. They stand up to getting pinned without reusing holes, I find them easier to draw around too. A solution to your drawing problem could be to make small marks, for straight sections I find marks a similar distance to the length of my scissors is enough. Groin/armpit/shoulder curves I put my marks cm or 1/4 inch apart.

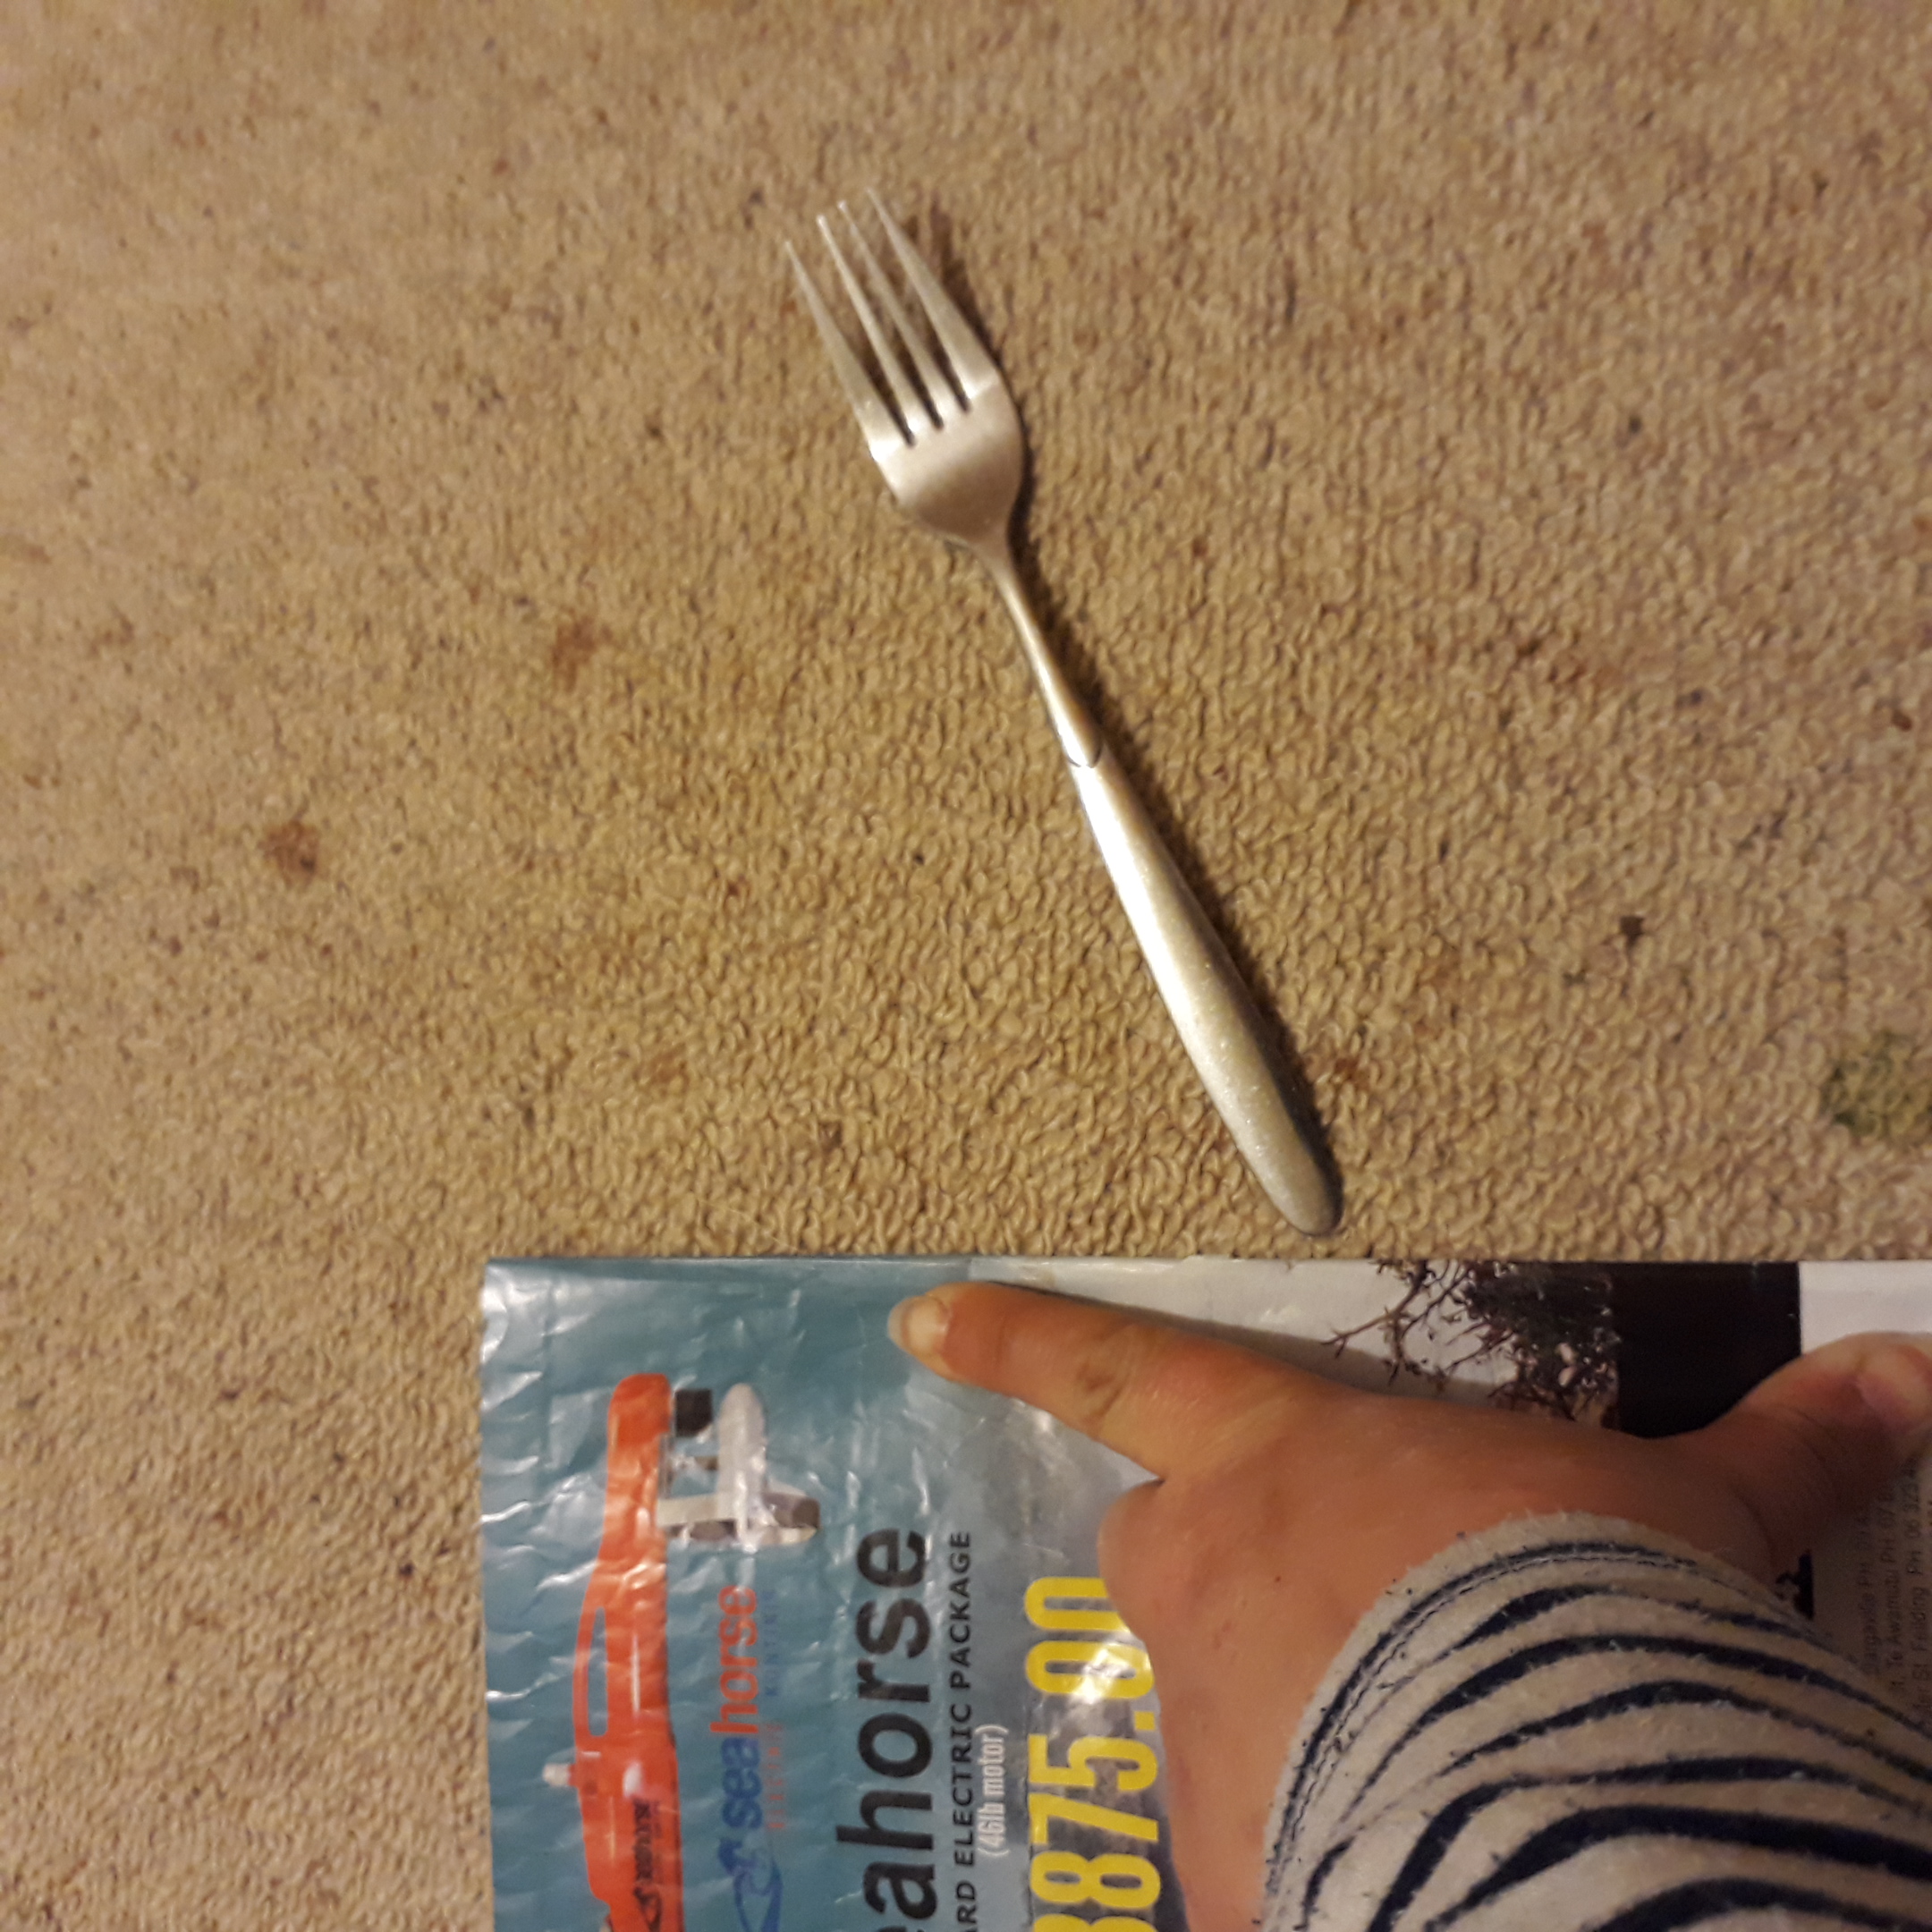
hand on a circular, with a fork on carpet next to it

I find if I hold my pattern and fabric down like this & put my marks between my finger and thumb, nothing moves; I have my pattern pinned to my fabric. I'm using a flyer to stand in for a pattern as mine are in storage at my other house.

2
  • 1
    So, uh... What the fork?
    – user24
    Commented Aug 21, 2018 at 2:54
  • It was probably meant to be a "pen" it was rather late.
    – SAM A
    Commented Aug 22, 2018 at 7:37
0

A lot of these answers suggest some form of lamination, which is obviously the way to go, so I thought I’d chime in with my two favorite materials for bonding with tissue paper.

The first method is to use freezer paper. This paper, which is cheap and widely available in grocery stores, has a plastic backing that will melt and bond with tissue if you iron it on.

The second idea I have, which I’ve never used for sewing but I have for just about every other type of durable-paper needs, is to use a tissue-foil lamination.

For a commercial pattern where it’s already printed on a large pice of tissue paper, I’d lay out strips of tin foil (like grocery-store aluminum foil) in a width to match your pattern (you’ll probably need to join strips and can just use a glue stick to overlap joints). Then I’d roll my pattern around a packing tube to help you control it as you do the lamination.

The fastest and most fail-safe method is to coat the foil with a fine spray adhesive, then use the tube to roll your pattern across the sticky foil, which minimizes wrinkles when joining the materials. I would then flip it over and laminate the other side of the foil with plain white tissue paper for good measure.

If you are printing out your pattern and feel daring, you can actually run foil paper through a laser printer. You will get an extremely durable print that can be crumpled and deformed multiple times and stay readable. It is truly like a super-substrate.

To prepare foil for printing, cover both sides with plain white tissue paper and then be extremely conscientious about cutting down to size (using straight, square cuts). If you don’t laminate both sides, if you leave some foil exposed, if there isn’t a good bond between the layers, oversights like these can ruin or severely damage your printer (I know from experience). Otherwise, you can use this incredibly strong material to print a tiled pattern, join it together, and you will be amazed at how small you’ll be able to fold it (even to the point of crumpling it up completely) and how easily it smooths back out.
-1

If you tape the pattern to the fabric (not loosely, but so that the edges are well taped all along) with masking tape, it would be much easier to cut along the edge (together with the tape). Later, masking tape is easily removed from fabric, but you wouldn't need to remove it from the pattern (it would even make it more durable).

(If the masking tape sticks on too well and there is a danger of damaging the fabric at removing, then, before taping a piece on, tape it to a random cloth surface and peel it off - it will pick stuff from the fabric and become less sticky. Repeat as many times as necessary.)

This is just a theoretical suggestion - I haven't tried it myself.

2
  • 3
    How would you see the edges of the pattern through _mask_ing tape?
    – user24
    Commented Aug 21, 2018 at 2:55
  • This is a terrible idea, it'll actually do more damage to the pattern than just pinning it.
    – Allison C
    Commented Feb 25, 2020 at 14:27

You must log in to answer this question.

Not the answer you're looking for? Browse other questions tagged .