3

I've been crocheting for a while, and I've recently started giving amigurumi (basically crochet stuffed animals/things) a try. I've been able to do balls and variations, but I bought a kit to make a sloth. I'm having a lot of trouble understanding some of the instructions.

I'm really stumped on this step (please note, that at this point I've made two small, separate legs, and this part will be joining these legs as I make the body. One leg if fastened off, the other is NOT fastened off):

"Rnd 11: Join legs as follows: Ch 8, sc around the 9 sts of first leg, working in ch 8, sc 8, sc 9 sts of second leg, working in front loop only of ch-8, sc in next 8 ch - 34 sts."

I'm really lost on what to do here. I know what single crochet is, what stitches are, how to only work in the first loop, but all these small details are lost on me, so I don't even know how to start.

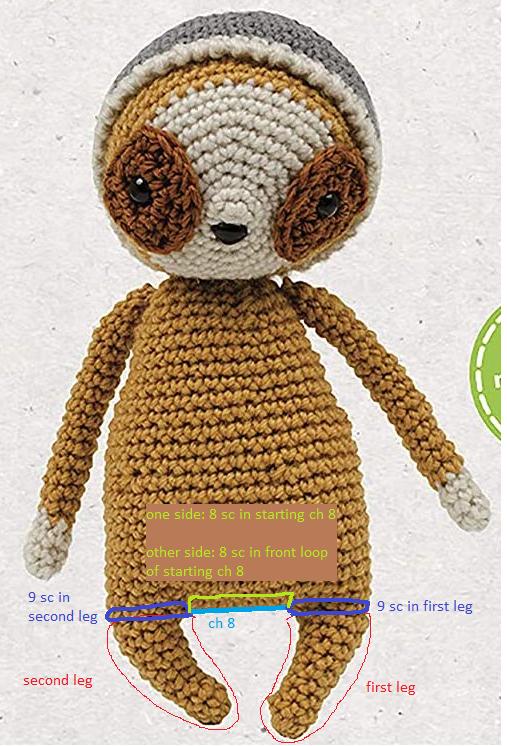
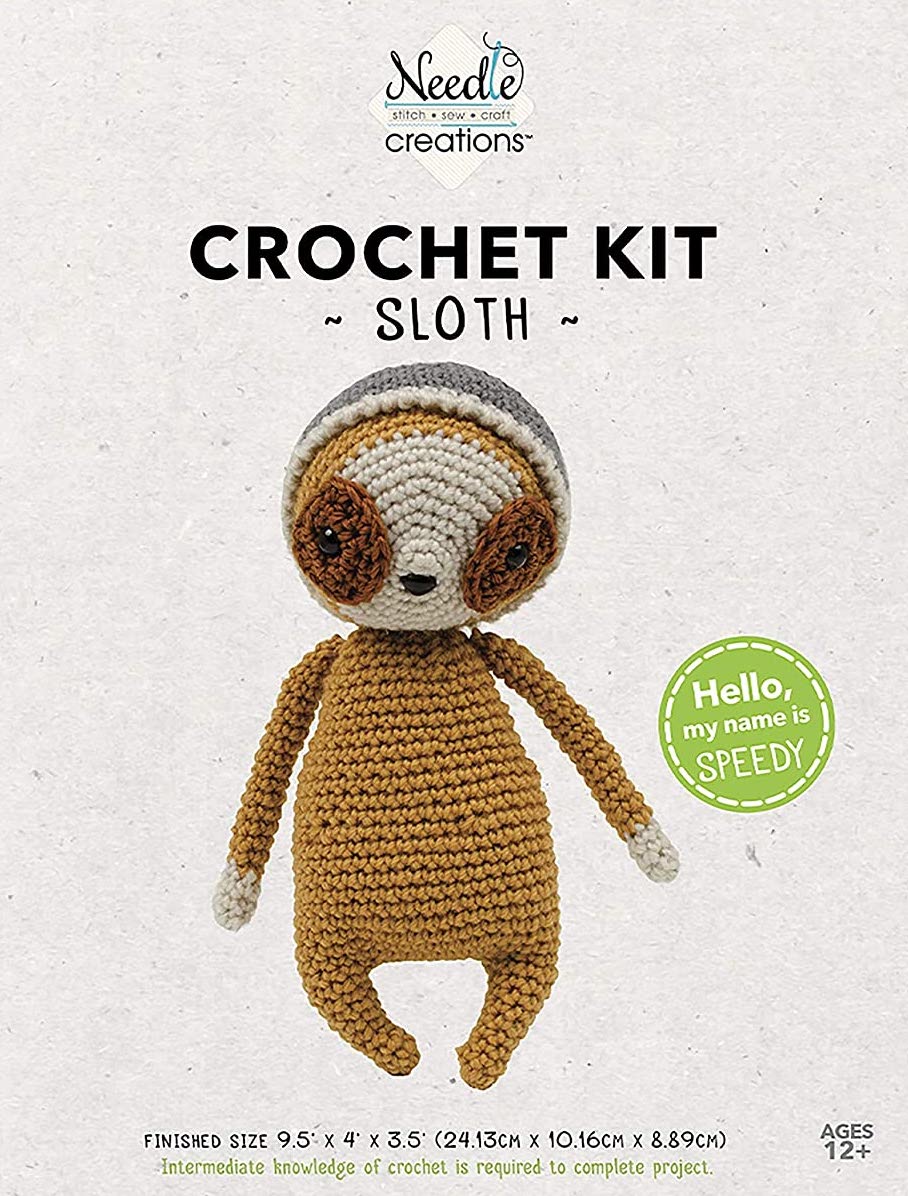
Here's a pic of the finished product, I'm working with the two bottom legs, which will be joined and continue to form the body:

enter image description here

Could anyone provide some more details? The instructions for this kit aren't very detailed...
1
  • My experience with "easy" kits for small, cute toys (in various crafts) is that they are often quite lacking in instructions, or materials, or for some reason the finished product is not quite how it looks in the photo. Once I bought a kit for a whale toy that when I finished it, it was obvious that the image on the package was computer generated, not an actual photo of a finished object. The image looked fully 3D due to computer-generated shadows, but the toy was basically flat. It's usually better to get the pattern first and read it all the way through before purchasing your own materials.
    – csk
    Commented Nov 3, 2020 at 19:27

1 Answer 1

6

"Rnd 11: Join legs as follows: Ch 8, sc around the 9 sts of first leg, working in ch 8, sc 8, sc 9 sts of second leg, working in front loop only of ch-8, sc in next 8 ch - 34 sts."

Here are the instructions broken down into separate steps. In parentheses at the end of each step is how many stitches you should have created since the start of the first step. The new stitches added in the current step are in bold.

  1. Chain 8

    8 ch

  2. Place 1 sc in each of the 9 stitches of the first leg

    8 ch + 9 sc in first leg

  3. Single crochet 8 in the starting ch 8* that you made in step 1.

    8 ch + 9 sc in first leg + 8 sc in ch8

  4. Place 1 sc in each of the 9 sts of the second leg

    8 ch + 9 sc in first leg + 8 sc in ch8 + 9 sc in second leg

  5. Working along the starting ch8 again, place 1 sc in the front loop of each ch

    8 ch + 9 sc in first leg + 8 sc in ch8 + 9 sc in second leg + 8 sc in front loops of ch8

*In step 3, be sure to work each single crochet stitch into the corresponding chain stitch, rather than just working them into the loop formed by the entire chain. That way you will have access to the front loop of each chain stitch when you get to step 5.

Here's a sketch of where these steps will fall on the actual body of the toy. The ch8 forms the start of the crotch. The next round will almost certainly be to work sc in the top of the first leg, then along the line of sc in the ch 8 from step 3 above, then around the sc of the second leg, then along the other side of the ch8 in the sc in front loop from step 5.

enter image description here

1
  • 1
    TYSM, This is so helpful. I understand now! I really appreciate this, and the diagram you made is a cherry on top. Thank you so much! Commented Nov 4, 2020 at 1:39

You must log in to answer this question.

Not the answer you're looking for? Browse other questions tagged .