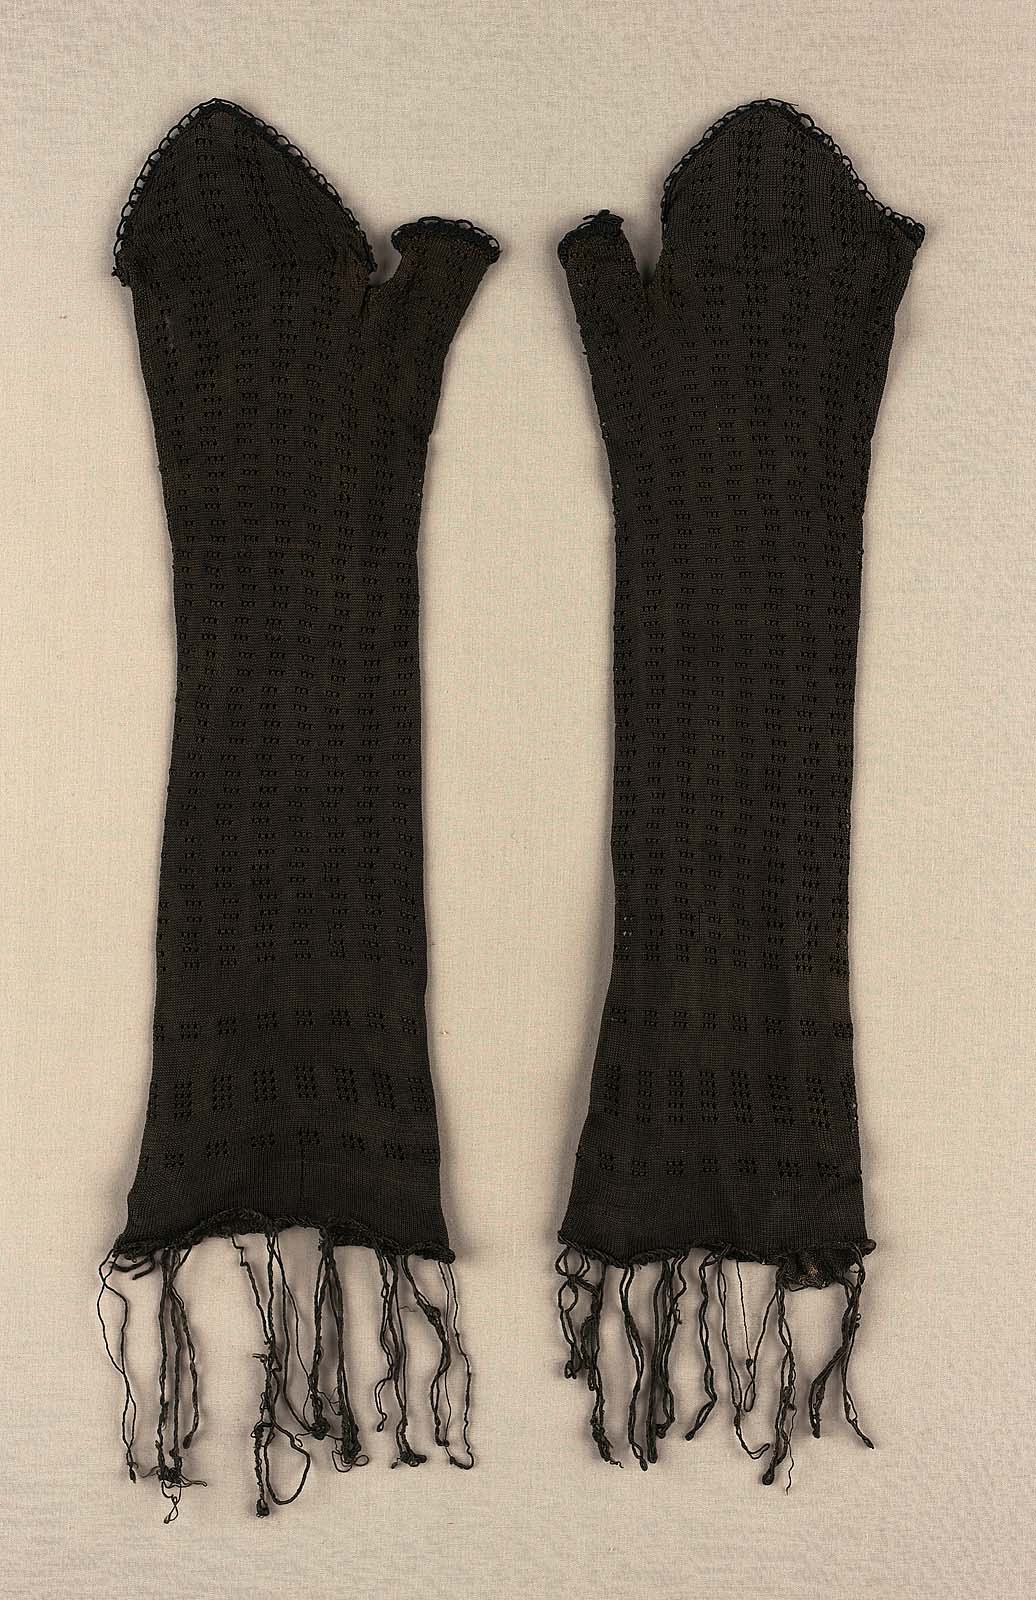
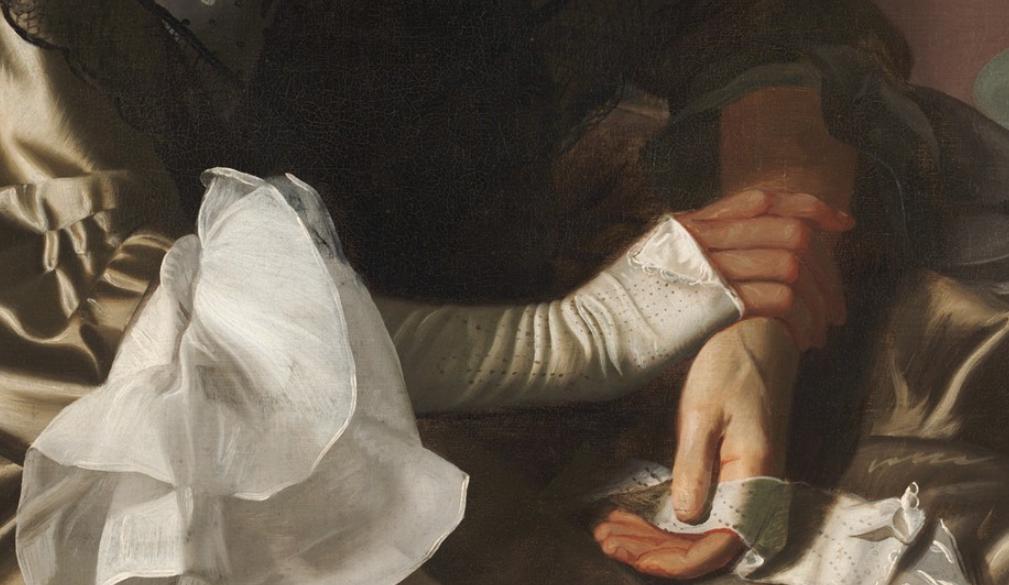
The pointed shape you seek could be achieved in many ways, as with all things knitted. Three possible strategies that come to mind are short rows; knitting back and forth with symmetrical edge decreases; and a scalloped edging pattern with symmetrical increases and decreases to form the pointed shape. I am going to suggest the latter, in which the shaping of the point is achieved whilst continuing to knit in the round. This will allow for a continuous bind off, all the way around, which offers a prettier finish than would be possible if you bind off the palm side separately.
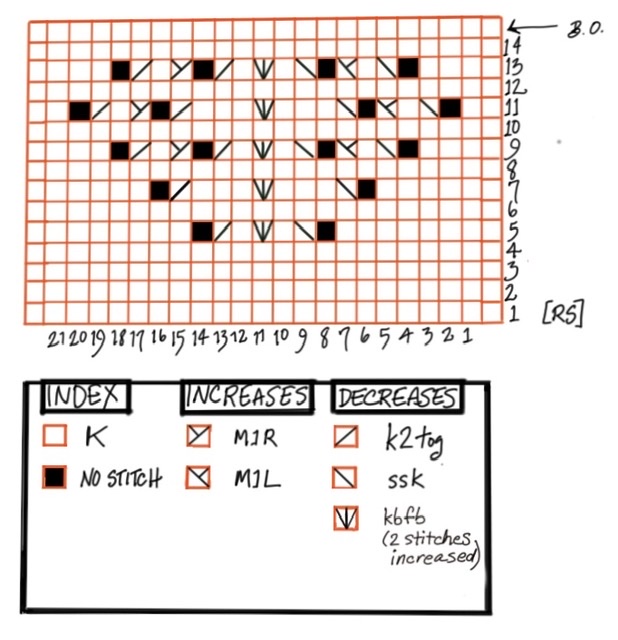
I mocked up this example pattern to confirm it would work; it is a modification of a scalloped edging stitch pattern. You will need to mock this up in your specific yarn, needles and gauge, to experiment with how many stitches and rows will provide the depth and width of pointiness you want. This can be modified by the frequency with which the increase/decrease sequence is performed: if performed on every other row, the steepness of the point’s angle will be shallower than if performed on every row. Also keep in mind that the drama of the point on the back of the mitt can be increased with thorough blocking.
The concepts of shaping knitted pieces can sometimes seem mysterious, but in this case can be explained as follows: to change what would have been a set of straight stockinette rows into a “mountain” or “uplifted” point shape (a scallop), the direction that the stitches lie must be changed from a vertical aspect, to stitches which symmetrically angle outward from a central imaginary line. To achieve this, mirrored increases must be placed on each side of the line. In order to keep the stitch count the same (which creates a tube of consistent diameter, which does not flare out toward the bind-off edge) there must be one decrease for every increase. There can be no decreases next to the middle line, or a valley would be formed instead of a mountain. 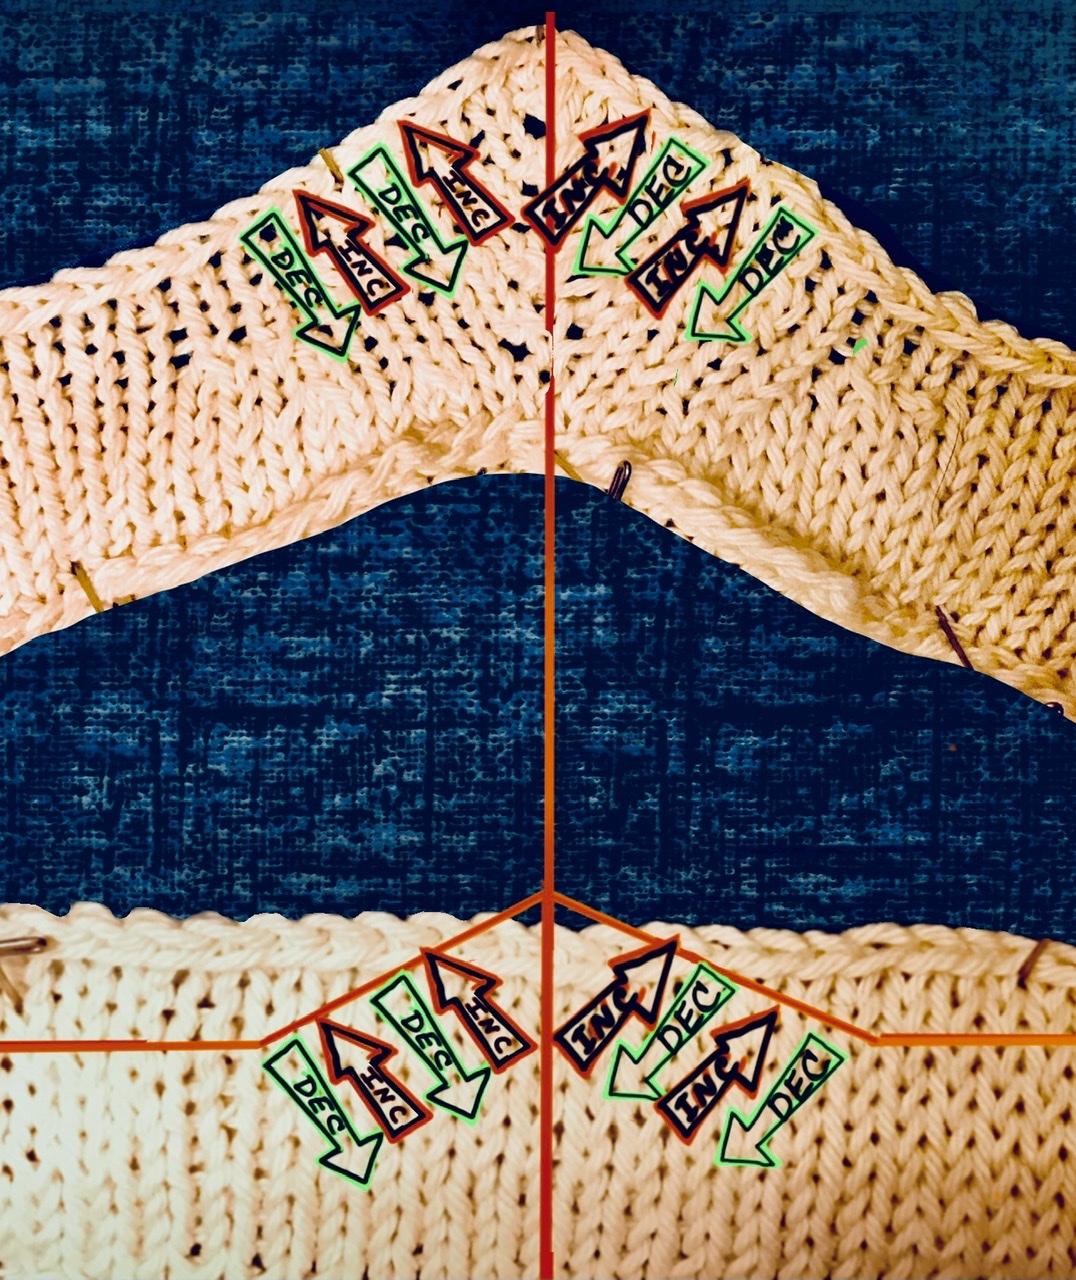
Mirrored increases and decreases are used, which here in my sample are unfortunately not well-represented, as I inadvertently transposed k2tog and ssk on the first few rows; my apologies...
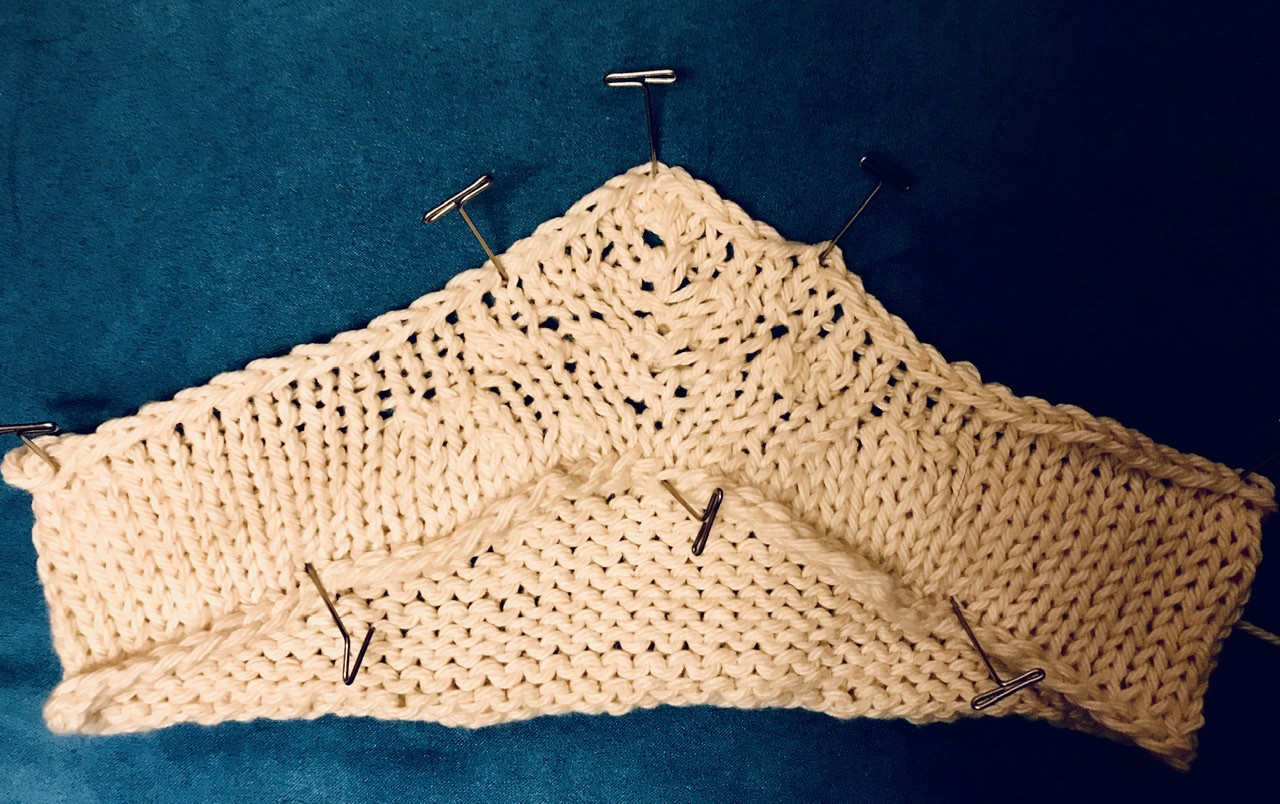
What this mock-up does show nicely though is how uniform the bind-off is all the way around. You will want to begin the bind-off on the palm side so that that little transition where the bind-off is completed is not highly visible on the back of the hand...
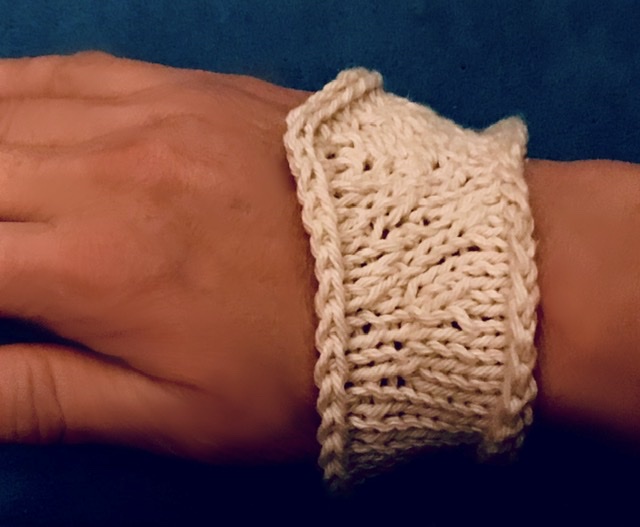 This little cuff is only about 12 rows, with the increase/decrease sequence performed on 3rd, 5th, 7th, 9th and 11th rows.
In case you are interested, here are links to some very good tutorials on how to perform the mirrored increases and decreases in the pattern: Tutorials on increases. Tutorials on decreases.
Here is the example pattern, to get you started. This can certainly be provided in written form, if reading charts is not your preferred format. I hope this helps!
