Epoxy
Similar to the other good answers, you might try using an epoxy with a high contrast pigment mixed in. This would be similar to the "river tables" that are currently really popular.
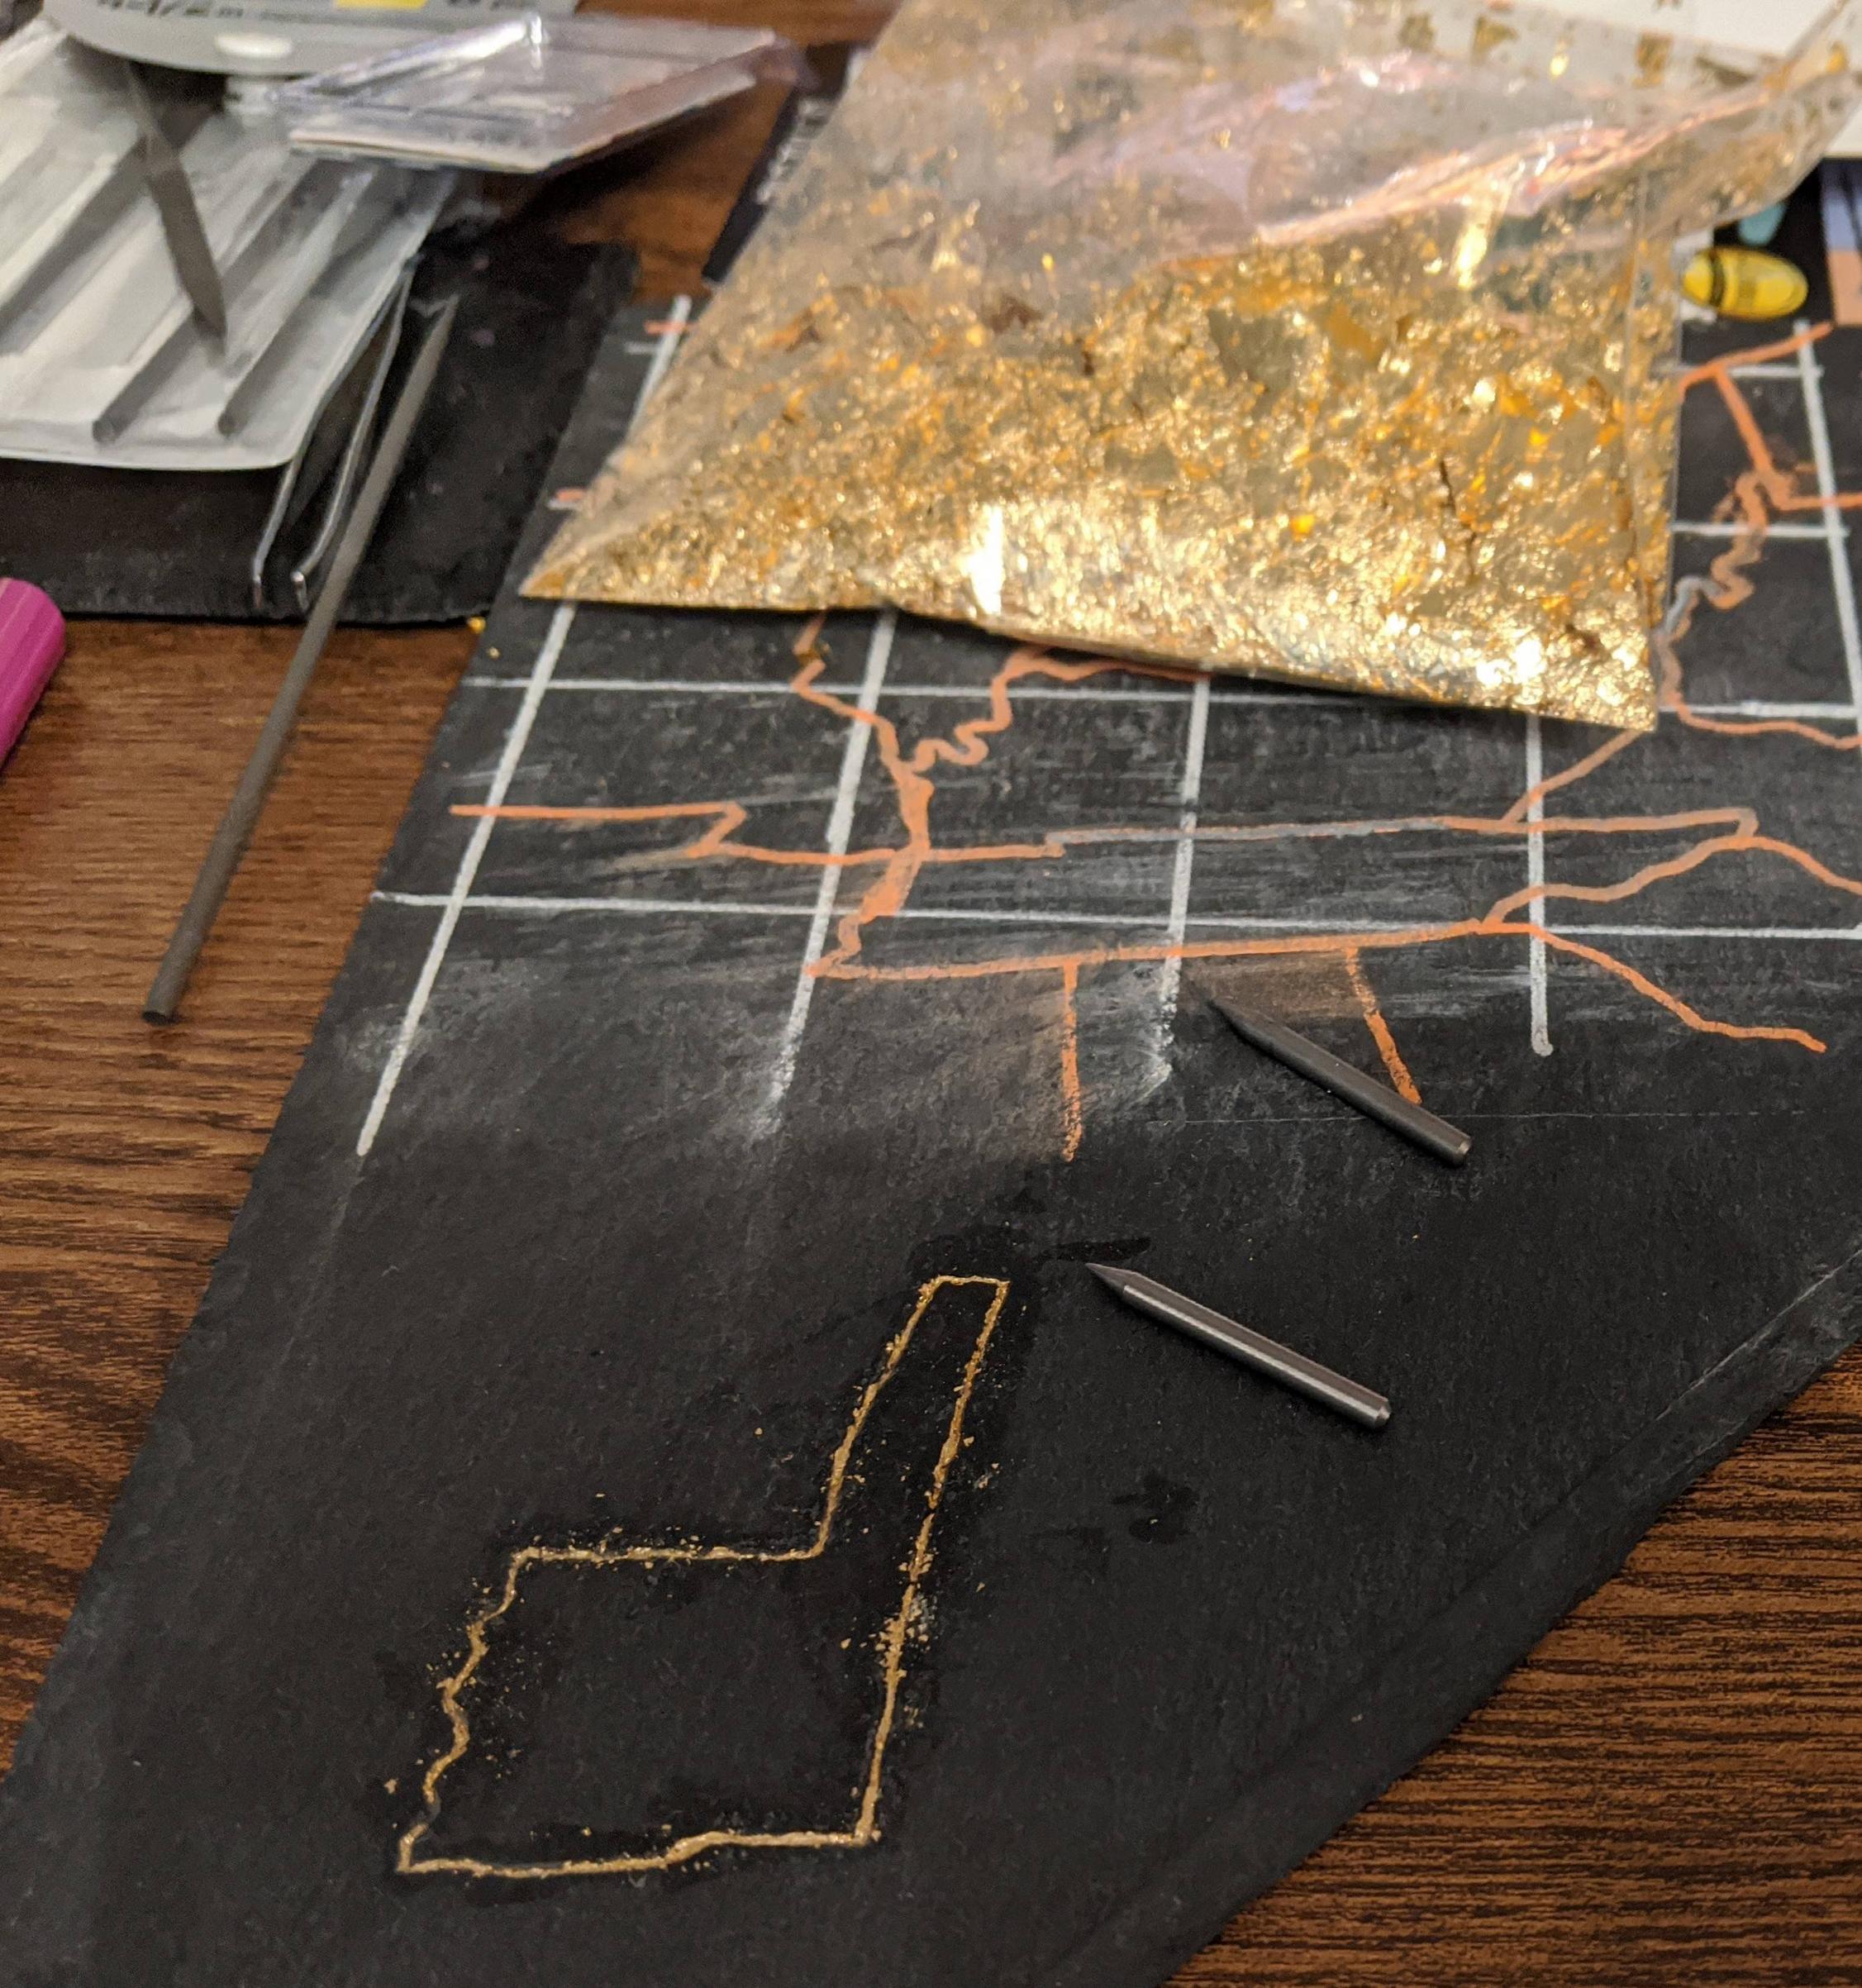
There are a wide variety of pigments, just like with anything else. There's liquid and powder pigments to match just about any color you want. What you use will be directly related to the contrast you want and the color and effect you want. You can get bright silver or gold pigments, as well as more exotic or normal options, too.
Since you are on slate that can't easily be sanded, scraped, planed, or even wiped off, I'd suggest masking all your lines off first and completely. I'd even go so far as to say mask off everything, then go back and use a razor to cut your lines back into each piece. Since this would be runny liquid, you'd also need to mask off the edges, where the liquid would flow out. You'll need better tape than masking, painters, or packing tape, since slate isn't a smooth surface and tape doesn't exactly want to always stick to it.
I use a clear 2 part epoxy and haven't had issues with the tile and wood pieces I've done, except for drips as the epoxy goes around an edge to the bottom of the piece, which shouldn't be an issue for you. There's quite a few options out there, and your local craft and hardware store probably has some casting epoxy that'll work. Mix a small amount of the epoxy as per the instructions, then halfway through the mixing process add the pigment and stir some more, finishing the epoxy mixing process.
Carefully pour the epoxy mix into the lines. Depending on the viscosity, it will flow down the valley, but don't rely on that 100%. Be sure to pour in multiple places. Even auto-leveling isn't completely reliable. Once you get enough in to completely fill the line, scrape off any extra with a soft scraper (like a Bondo applicator or spatula) and do it down the length of the line, being careful to cross any intersections at an angle, so you don't accidentally dip your scraper into a line.
Once you have it all leveled out, remove the tape, except for the vertical edges. This will allow you to wipe up anything that seeped in under the tape before it cures. Once the epoxy cures, it's extremely difficult to remove and you'll risk pulling up epoxy out of the lines if you do get it started. It generally cuts with just a razor blade, but it's a pain to remove.
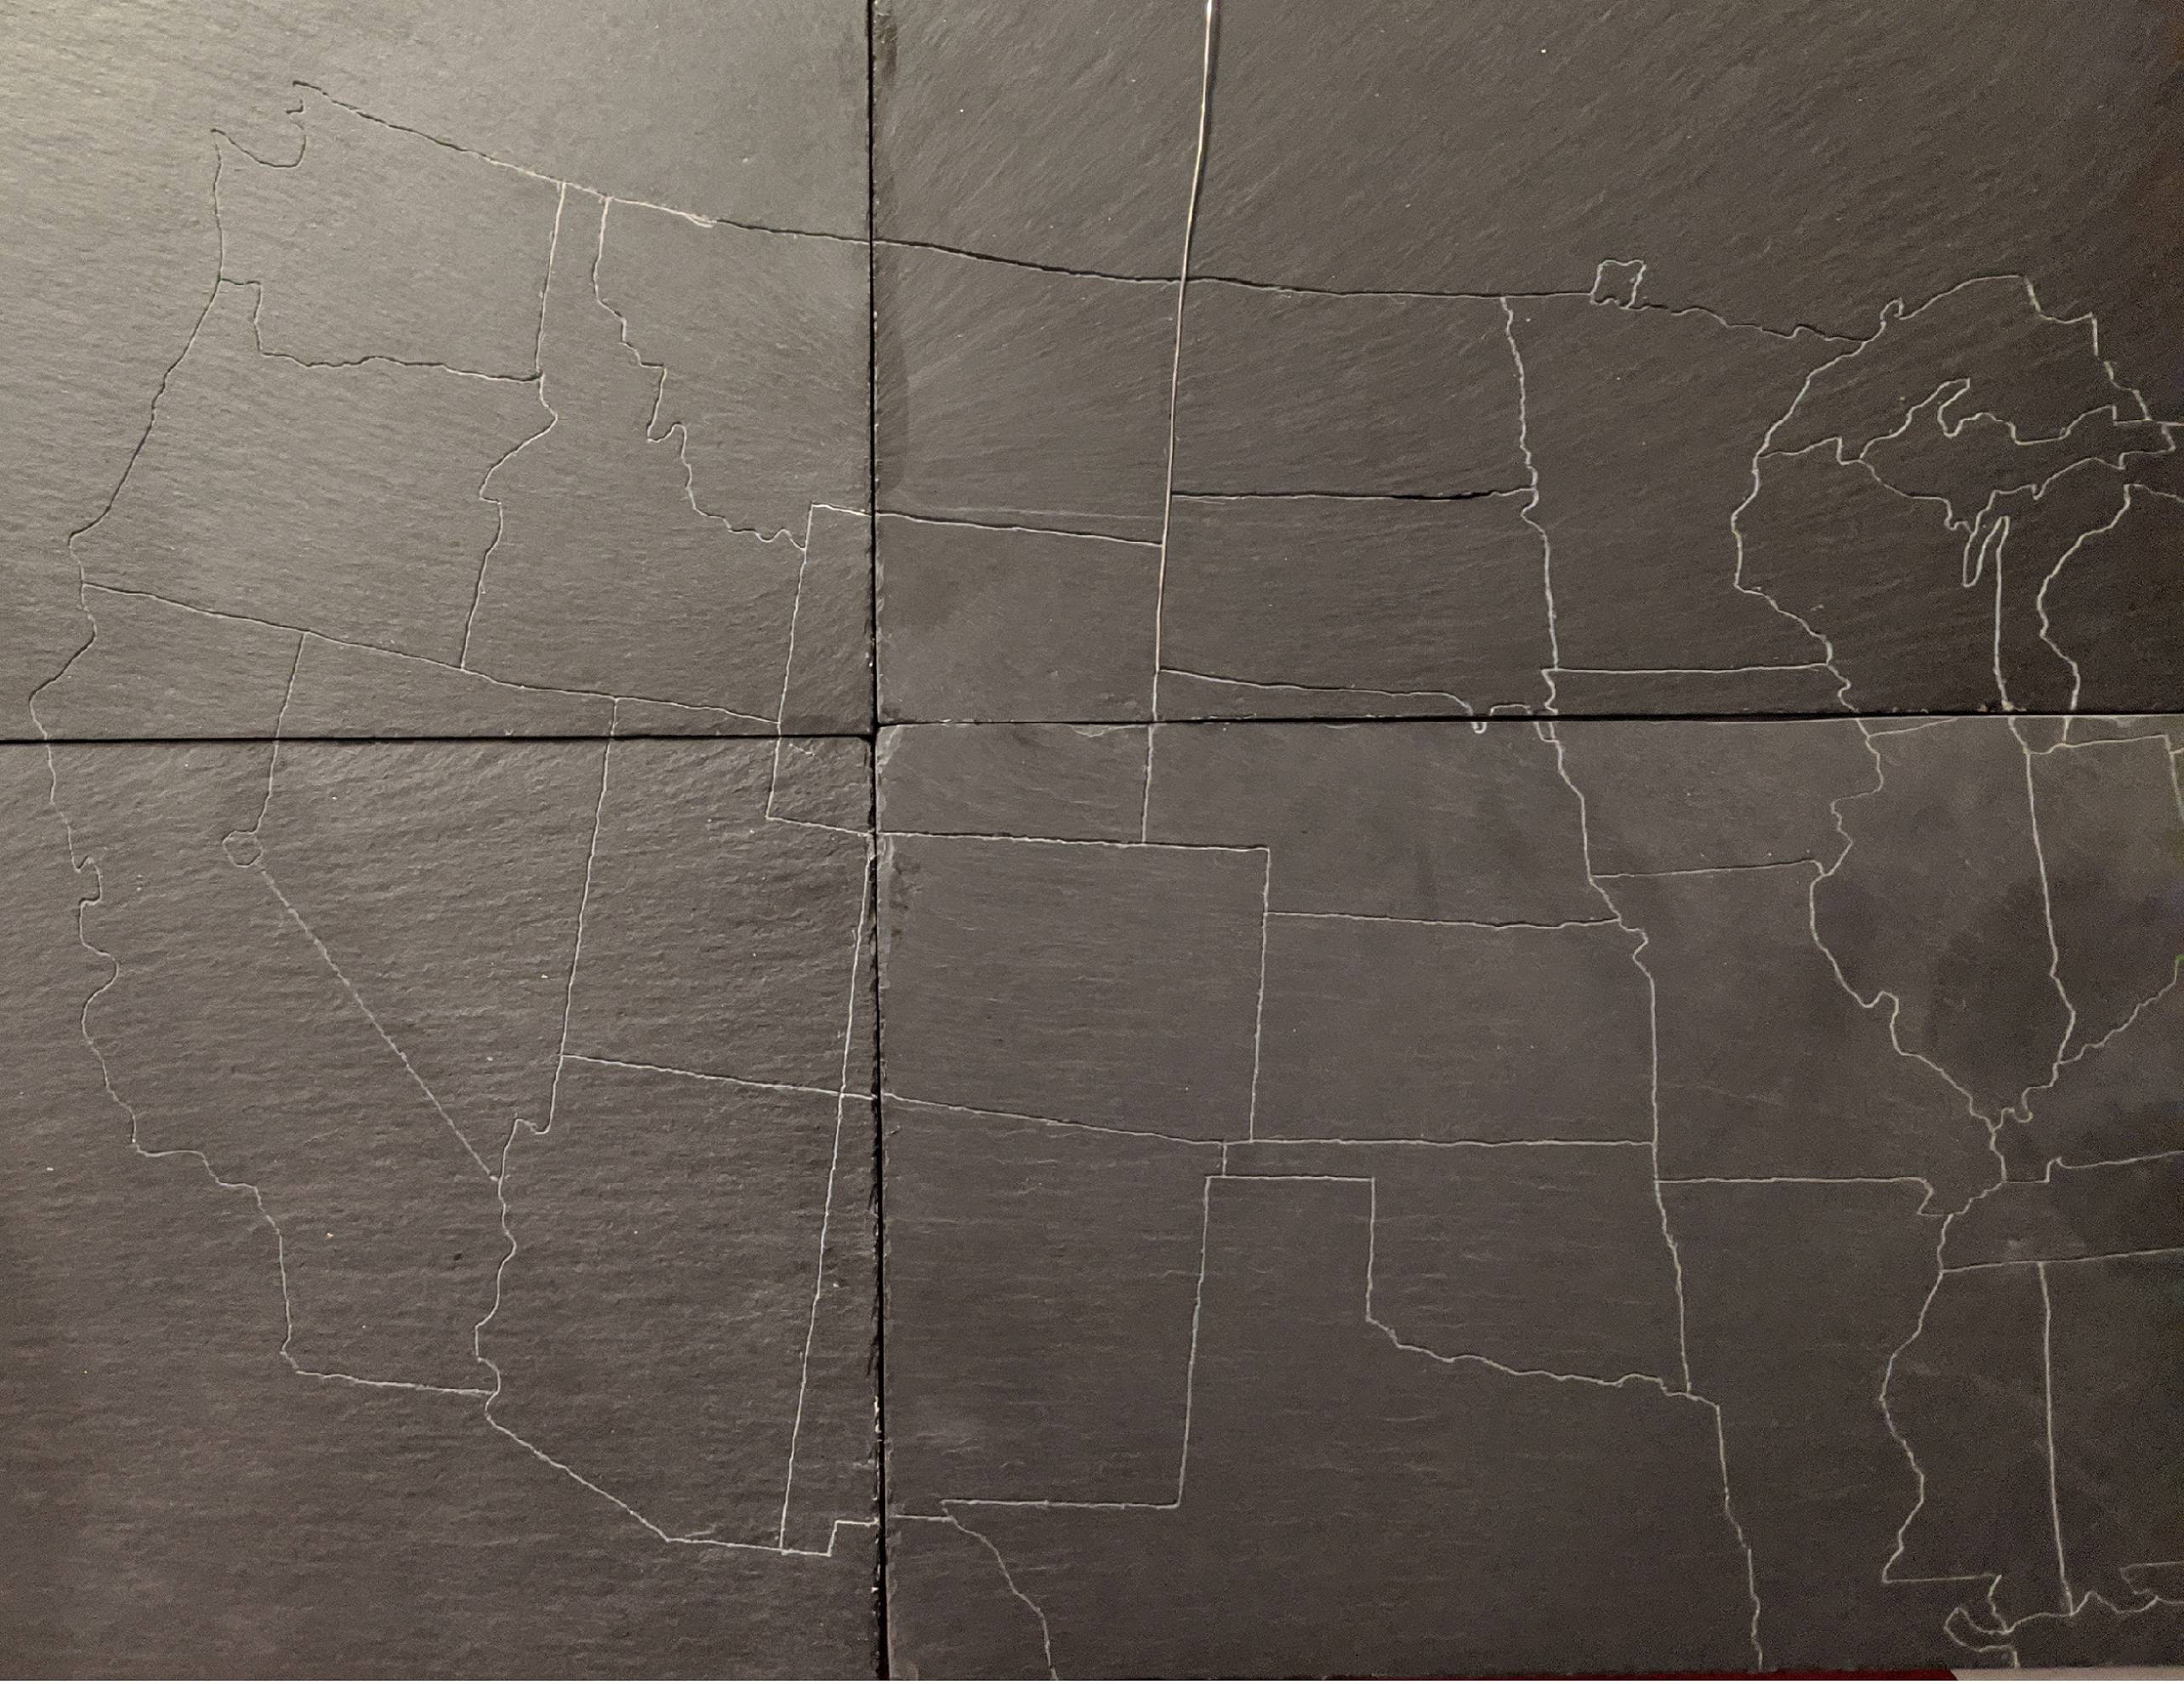
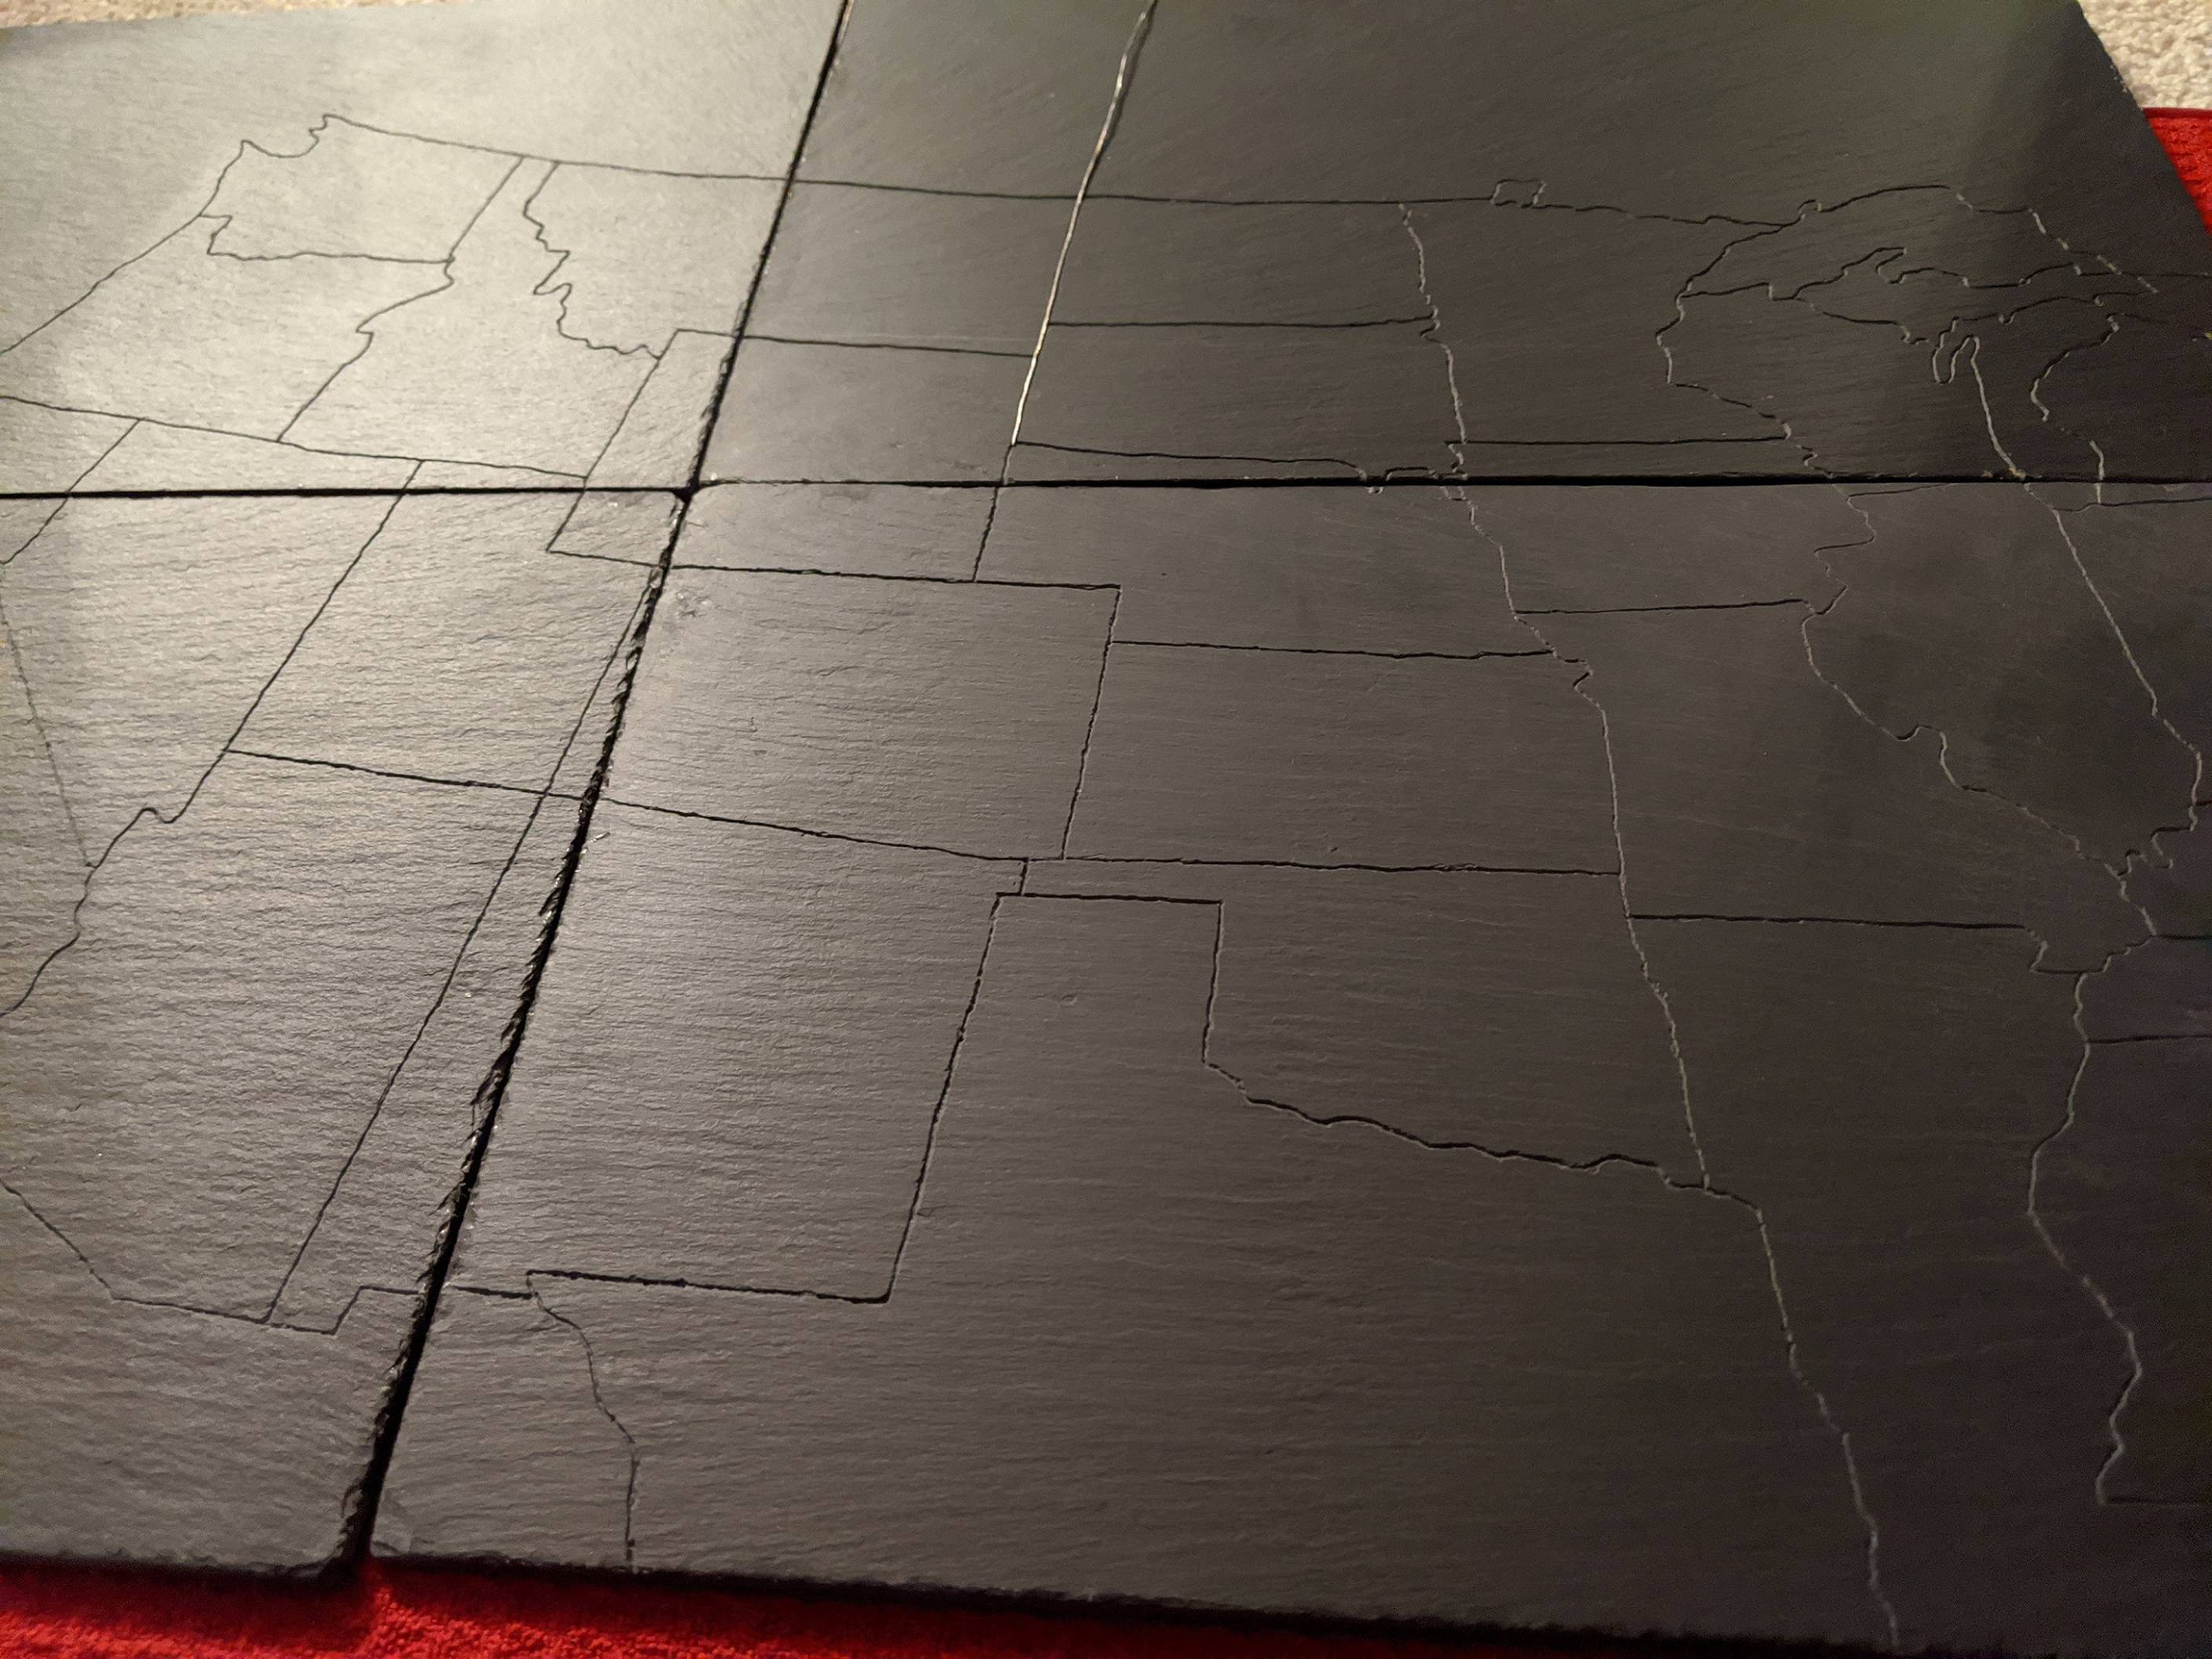
You might want to babysit the epoxy, so that while it does it's auto-leveling thing, it doesn't escape from the lines. I notice that there's a fair amount of variance in the level of the slate you used, so it might cause you some problems. Once it starts to set up, you should be fine to leave. Most of the epoxies I use have a 30-60 minute working time and a 4 hour set up time, with a 24-72 hour full cure time. There are other epoxies available with much shorter set and cure times, but they also have significantly shorter working times, too.
UV Resin
This is similar to the epoxy option above, you can get UV resin for 3D printers, mix it with the same pigments, pour it into the lines, then use a UV light to cure the epoxy in just a few minutes.
The down side to this is that over curing the epoxy with the light can cause discoloration. There's a time limit to when this epoxy can be UV cured. Some of this resin will cease to be able to be further cured after a week, but some take as much as a month before it'll not continue to cure in UV light. I mention this, because there's a lot of UV light in the sun, so an outdoor installation would need to be delayed to avoid over curing. Also, applying the resin should be done indoors with a little light as possible, but still being able to see what you're doing. The UV resin only needs a few seconds of UV light to set up, but that's if you have concentrated UV light.
You will also need to get a UV light that matches the curing UV of the resin. Most of the resins have a 405nm rating, which is the wavelength of UV light that cures/activates it. There are plenty of low cost UV lights available that match this rating, so they are readily available, too. I have 3 of these lights, but I use them to cure pieces that come out of my 3D resin printer. It only takes a couple of minutes, sometimes not even that long, to fully cure a piece. Sometimes a few minutes is enough to over cure a thin piece, with the 60 watt LED lights I have. Over curing tends to make the piece look amber, which won't really detract from a gold, orange, or yellow pigment.
One other downside to this is the possibility of the resin to remain tacky/sticky after being cured. If you think you have the large majority of it cured (due to it being hard rather than liquid), you can try wiping off the sticky resin with greater than 91% rubbing alcohol. You can get this at Walmart and other retailers, and you'll need it for cleanup of any tools you use. Wiping off the sticky resin will leave the line with a matte finish, rather than glossy, but it might not matter when contrasted with the slate.
I use a spray on epoxy to cover the sticky resin, but that would require you to keep your masking tape on the slate.


