9

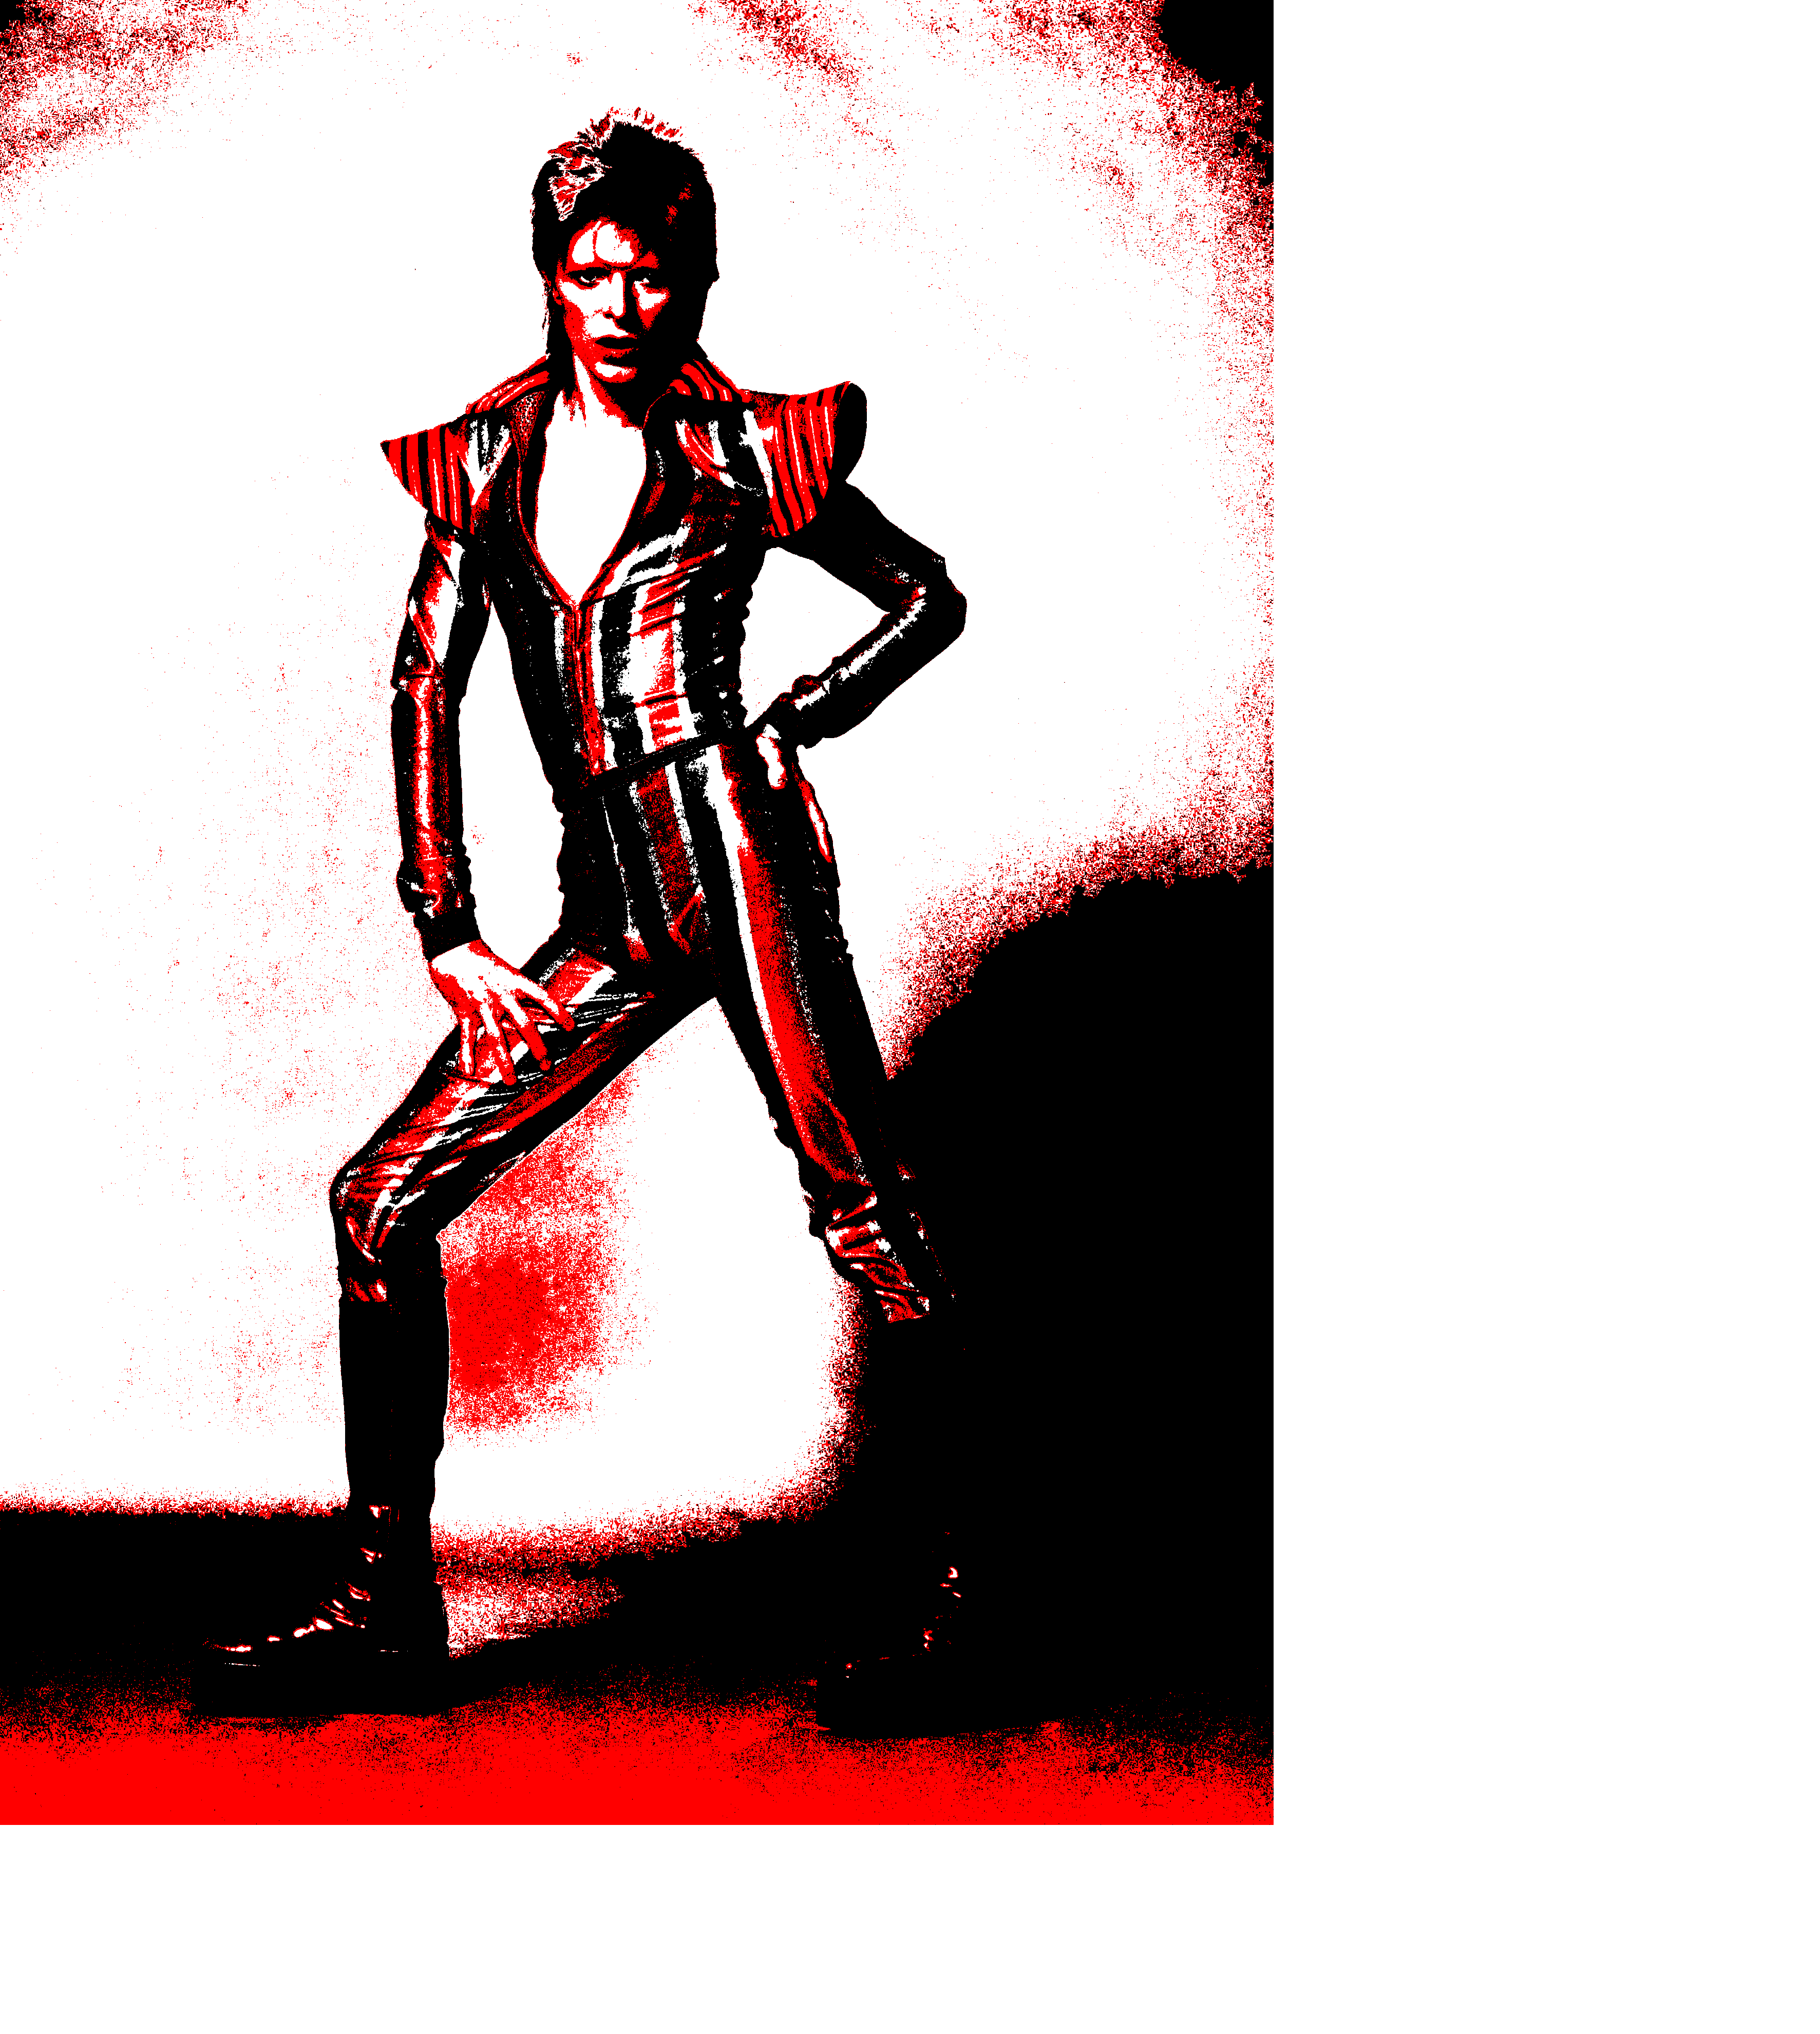
I am looking to create a stencil for the attached image that I edited in Photoshop:

enter image description here

My girlfriend is a big fan of Bowie's work and her birthday is coming up. My plan is to spray paint the image onto a 3'x'2' piece of MDF board. I am looking for the cheapest way to do this. I am open to all suggestions, including making stencils by hand, or purchasing a machine that will cut the stencils for me.

4 Answers 4

2

Here are a few specific points to consider.

  1. Determine what size of stencil you need. If the stencil is going to be large, it is okay to include small details. If the stencil is going to be small, a simpler design should be used. Know how many colors you want to include in the stenciled image.These factors will affect the amount of materials you need and the number of stencils you need to create.
  2. Draw an initial sketch of the image- At this point, you are only trying to develop the image that will become the stencil. You can experiment with patterns or attempt to hone a design that you had intended from the start.
  3. Choose the type of stencil material cardboard or foam board are good for large, simple stencils on flat surfaces.
    • Paper works for a single-use stencil on either flat or rounded surfaces.
    • Poster board holds up better than paper and can be used on flat or slightly rounded surfaces.
    • Plastic or clear acetate are good if creating reusable stencils for either flat or rounded surfaces.
    • Frisket film, which is a clear film with a slightly sticky backing, is good for flat and rounded surfaces.
5

The best first step is to convert your image into a vector format from the current raster image. Vector format images are composed of "descriptions" that could be considered as a road map of the image. As an example, a square can be defined as four points and four lines. The vector image can be easily processed by laser cutter, vinyl cutter and CNC router if you have access to these machines or are in an area with a makerspace.

If you need only one use of the image, you could have it cut in vinyl, apply it to the surface, cast your media and remove the vinyl. I suspect that it would be less expensive to have a stencil cut rather than vinyl.

A quick search for "stencil cutting services" shows me there are many resources in that respect.

If you will be creating this stencil for multi-color results, you will have to have a color separation of the vector image, with registration marks as part of the output. That is to say, you would have a set of openings on one stencil for the black, another stencil for the red.

One critical consideration is the detail and resolution of your image. The image you've posted shows dithering. This is the area where small dots appear in one color with another color as the background. This can be challenging for the cutter, if you do not perform the raster to vector conversion yourself. If you do the conversion, you will also find it challenging.

Consider how your image will appear if the dithering is removed or converted to solid colors. Will that be acceptable? Also consider to search using the terms "david bowie vector image" for a better choice of your stencil.

As an example, I found this as a result of the search:
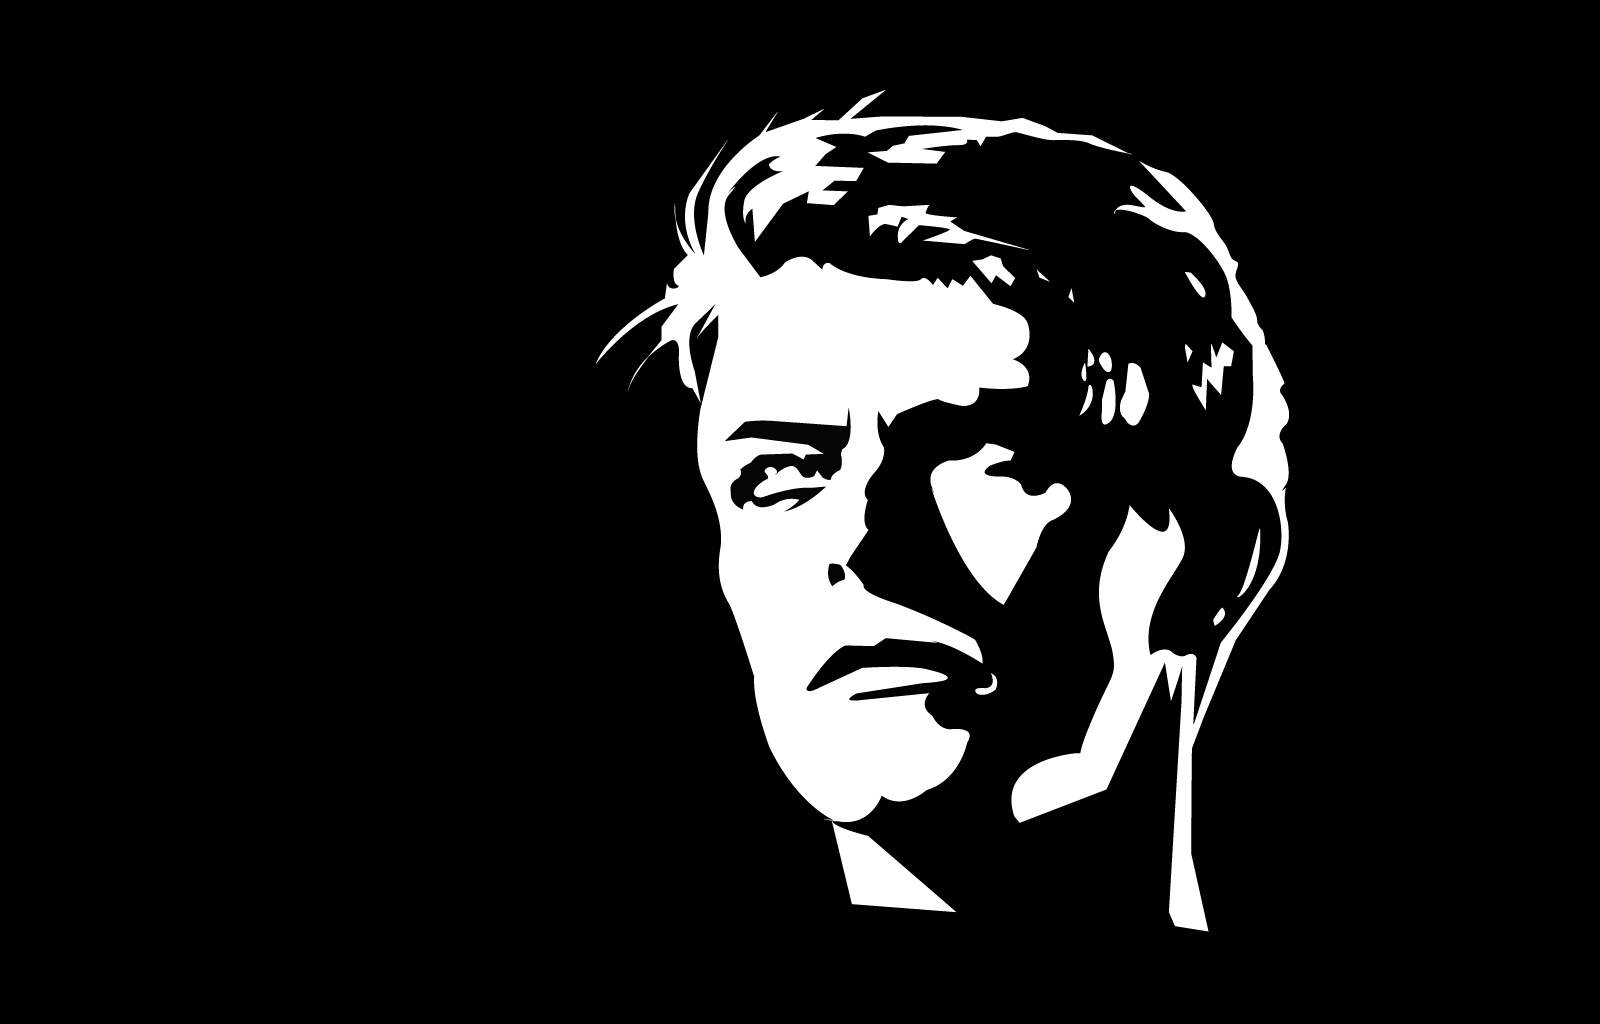
David Bowie Vector Image

Note that the edges are crisp and solid. Two colors means a single stencil, more easily accomplished for a reasonable price.

Another caution. This image and almost any you find will have floaters in the stencil. These are sections that have no attachment to the edge of the stencil. Stencil fonts always have the floaters secured to the edges. Art work cannot have the luxury and attain the desired result. As such, it may be necessary to resort to one-shot vinyl, as the stencil remains attached to transfer tape until applied to the surface, keeping the floaters in place until peeled from the surface. Bowie's right eye is an example if you consider that the stencil material is black and the medium is white paint. Curiously, in this example, it would appear that only his eye and nostril are floaters and the rest of the stencil is well secured by the neck area.

Some stencils can be secured by very thin strips of edited lines but have to be treated carefully in handling to avoid breaking those attachment points. In the example image, one could create a connection from the left edge of his eye to the outside and another from the right edge of the eyebrow to the right side, a thin uni-brow.

In your post, you suggest a 3' x 2' poster, which would require tiling of the stencils, I expect. You would be able to find a service that can cut the entire full size, but it might not be inexpensive.

I think the most difficult part of your project would be to find a satisfactory vector image and the remainder is simply money or labor. If you have a good vector image and good stencil material, you could print the image in tiles, cut the vector lines with a hobby knife and create it on your own.

If you create your own, you can also consider to apply spray adhesive to the tiles, attach the uncut stencil to the MDF and begin the cutting process. This also removes the problem of floating sections, as the adhesive will secure them. Some spray adhesive will release relatively easily, as will rubber cement when properly applied. MDF doesn't hold well with such adhesives, but will hold well enough for stencil cutting purposes.
1
  • what if the x-acto knife doesn't cut well?
    – Kyle
    Commented Jan 15, 2020 at 2:17
1

For a 3' by 2' image the quickest way that is fairly cheap is to buy an art projector. You can find them online from $10 - $70 and at Michaels or Walmart. Then project the image onto some poster board. If you want to keep the colors you need 2 stencils. Trace the black areas on to one poster board and the red on another. You don't have to trace every dot and will have to leave some of the dots out at first. Later when you spray paint some of the dots will come back from over spray. As you are tracing mark the areas of color so you only cut out what you should. Use an Exacto knife to cut out the pieces from the poster board. Remember to keep inner parts connected with a thin bridge of paper or they will fall out. You can connect them back in with tooth picks if you mess up. I suggest doing some small quick tracings with tracing paper first to plan these cuts. One for each color. The stencils can be used more than once so I suggest testing them on something else before you do your final draft.

0

The really cheapest way to do that is following:

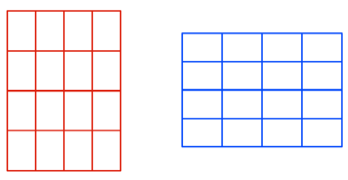
Divide your image into A4 pieces. The fastest way is to overlay it with a A4 raster. You can find those easly on the internet, or you create a grid in your graphic program.

more divisions you make, the bigger your image will get;)

So for your image you want to print it twice. Tape the pieces together.

Now paint your board white. Add a drop of red to your paint - not to make it pink, but to get rid of the "artificial whiteness".

Now you want to cut out the red parts. Just use the regular cutter knife. Remember to be precise while cutting the lines meeting the white parts of the image. There where red meets with black you just need to get it "round about" as you gonna overlay it in the next step with black. For the background I would even recommend that you don't try to cut it accurate, but more for a sorta kind guideline, what is were. Black but on red would give a much nicer effect there.

So now for the final step - cut out the black parts. Here you want to be really precise. Add a dash of red to your black. Paint. Or Spray. If you are spraying adding a bit of other colour would be more tricky, but possible. You can experiments, and do some try outs with the mixing on the back of the board or regular cardboard.

You must log in to answer this question.

Not the answer you're looking for? Browse other questions tagged .