It's mostly a matter of preference, but the way you hold a pen(cil) does influence the pressure, precision, range, and rotation.
Everyone develops a preferred way of holding a pen (often when learning to write), and as this grip is likely used the most, it usually is the most comfortable for that person. Because of this experience (training), this grip usually allows for the most control over whatever is being put to paper. Even if a person has two different grips for writing and drawing, both are likely developed sufficiently to allow for interchanging. Some people might resort to their 'writing grip' when adding detail or, vice versa, when sketching, depending on their handwriting.
Still - and this can become obvious when looking at pencil grips from a mechanical standpoint - the way one holds a pen(cil) has an effect on the pressure one can exert with the point, and the precision and range with which one can draw.
Finding the proper average for any specific task can increase the effectiveness of that technique.
A general rule is to adjust your grip to the shapes you have to put down.
As with many other tools, the pen(cil) will ideally be treated as an extension of your body, and the grip should adapt to what your mind dictates to be put to paper, becoming a natural and subconscious link in this mechanism. I think it's helpful to think about this while drawing, so you can become aware of what aspects could use extra attention.
Parameters
The different aspects of drawing can be manipulated with these adjustments:
- Pressure is easier to control when a pen(cil) is held close to the tip.
- Similarly, precision is easier to control when a pen(cil) is held closer to the tip, but only for precision within relatively small areas. To draw more precisely within larger areas, you also need to have better control of the range:
- You can increase range by moving your grip of the pen(cil) away from the tip, and vice versa. You can adjust the way you hold your pen(cil) while doing so (see 'other grips' below).
For control over both range and precision, you'll hold the pen(cil) at a compromising point along the shaft.
- Rotation or curving while drawing can be controlled at two points: using the pivot point where the pen(cil) is held between thumb and index finger, or using the pivot point of your entire hand at the side of your hand on which it rests on the paper or working surface (when working horizontally). You can shift these point easily.
Regular grips
Two extreme examples of more common grips (when working horizontally) are the following:
Holding your pen(cil) vertically (like in the video you linked) allows for more precision and higher pressure, and is useful for adding detail, to emphasize the correct lines in a sketch, darkening lines, or adding patterns (for textures, for example).
Holding your pen(cil) almost horizontally allows you to cover more area in less time, and to draw lighter lines, and is useful for (quick) sketching, arching or hatching of larger areas.
There are a lot of grips between these extremes, and your default grip is likely an average.
Other grips/tweaks
Then there are some rarer grips and 'tweaks':
- Working vertically (during live model drawing, for example), you can hold the pen(cil) as if holding a pointing stick, laser pointer, or conducting baton, even, where the end of the pen(cil) remains on the inside of your hand. This way, you can easily reach a large surface of the paper, from above your head to below your waist, while being able to quickly walk back and forward in order to see the overall image, almost as if you're fencing with your drawing.
- Along with the pivot points of the hand mentioned earlier (under 'parameters'), you can facilitate drawing arches and other rounded lines and shapes by adjusting the angle at which the pen(cil) lies in your hand and touches the paper (its 'yaw', if that makes it any easier :).
- With some grips you can use your pinky for extra stability and precision.
- (These last two 'tweaks' can also be used when you need to avoid parts of a drawing in order to prevent scuffing.)
I suggest experimenting with these parameters and the angle with which you hold the pencil.
Ultimately, though, it is whatever you feel most comfortable with.
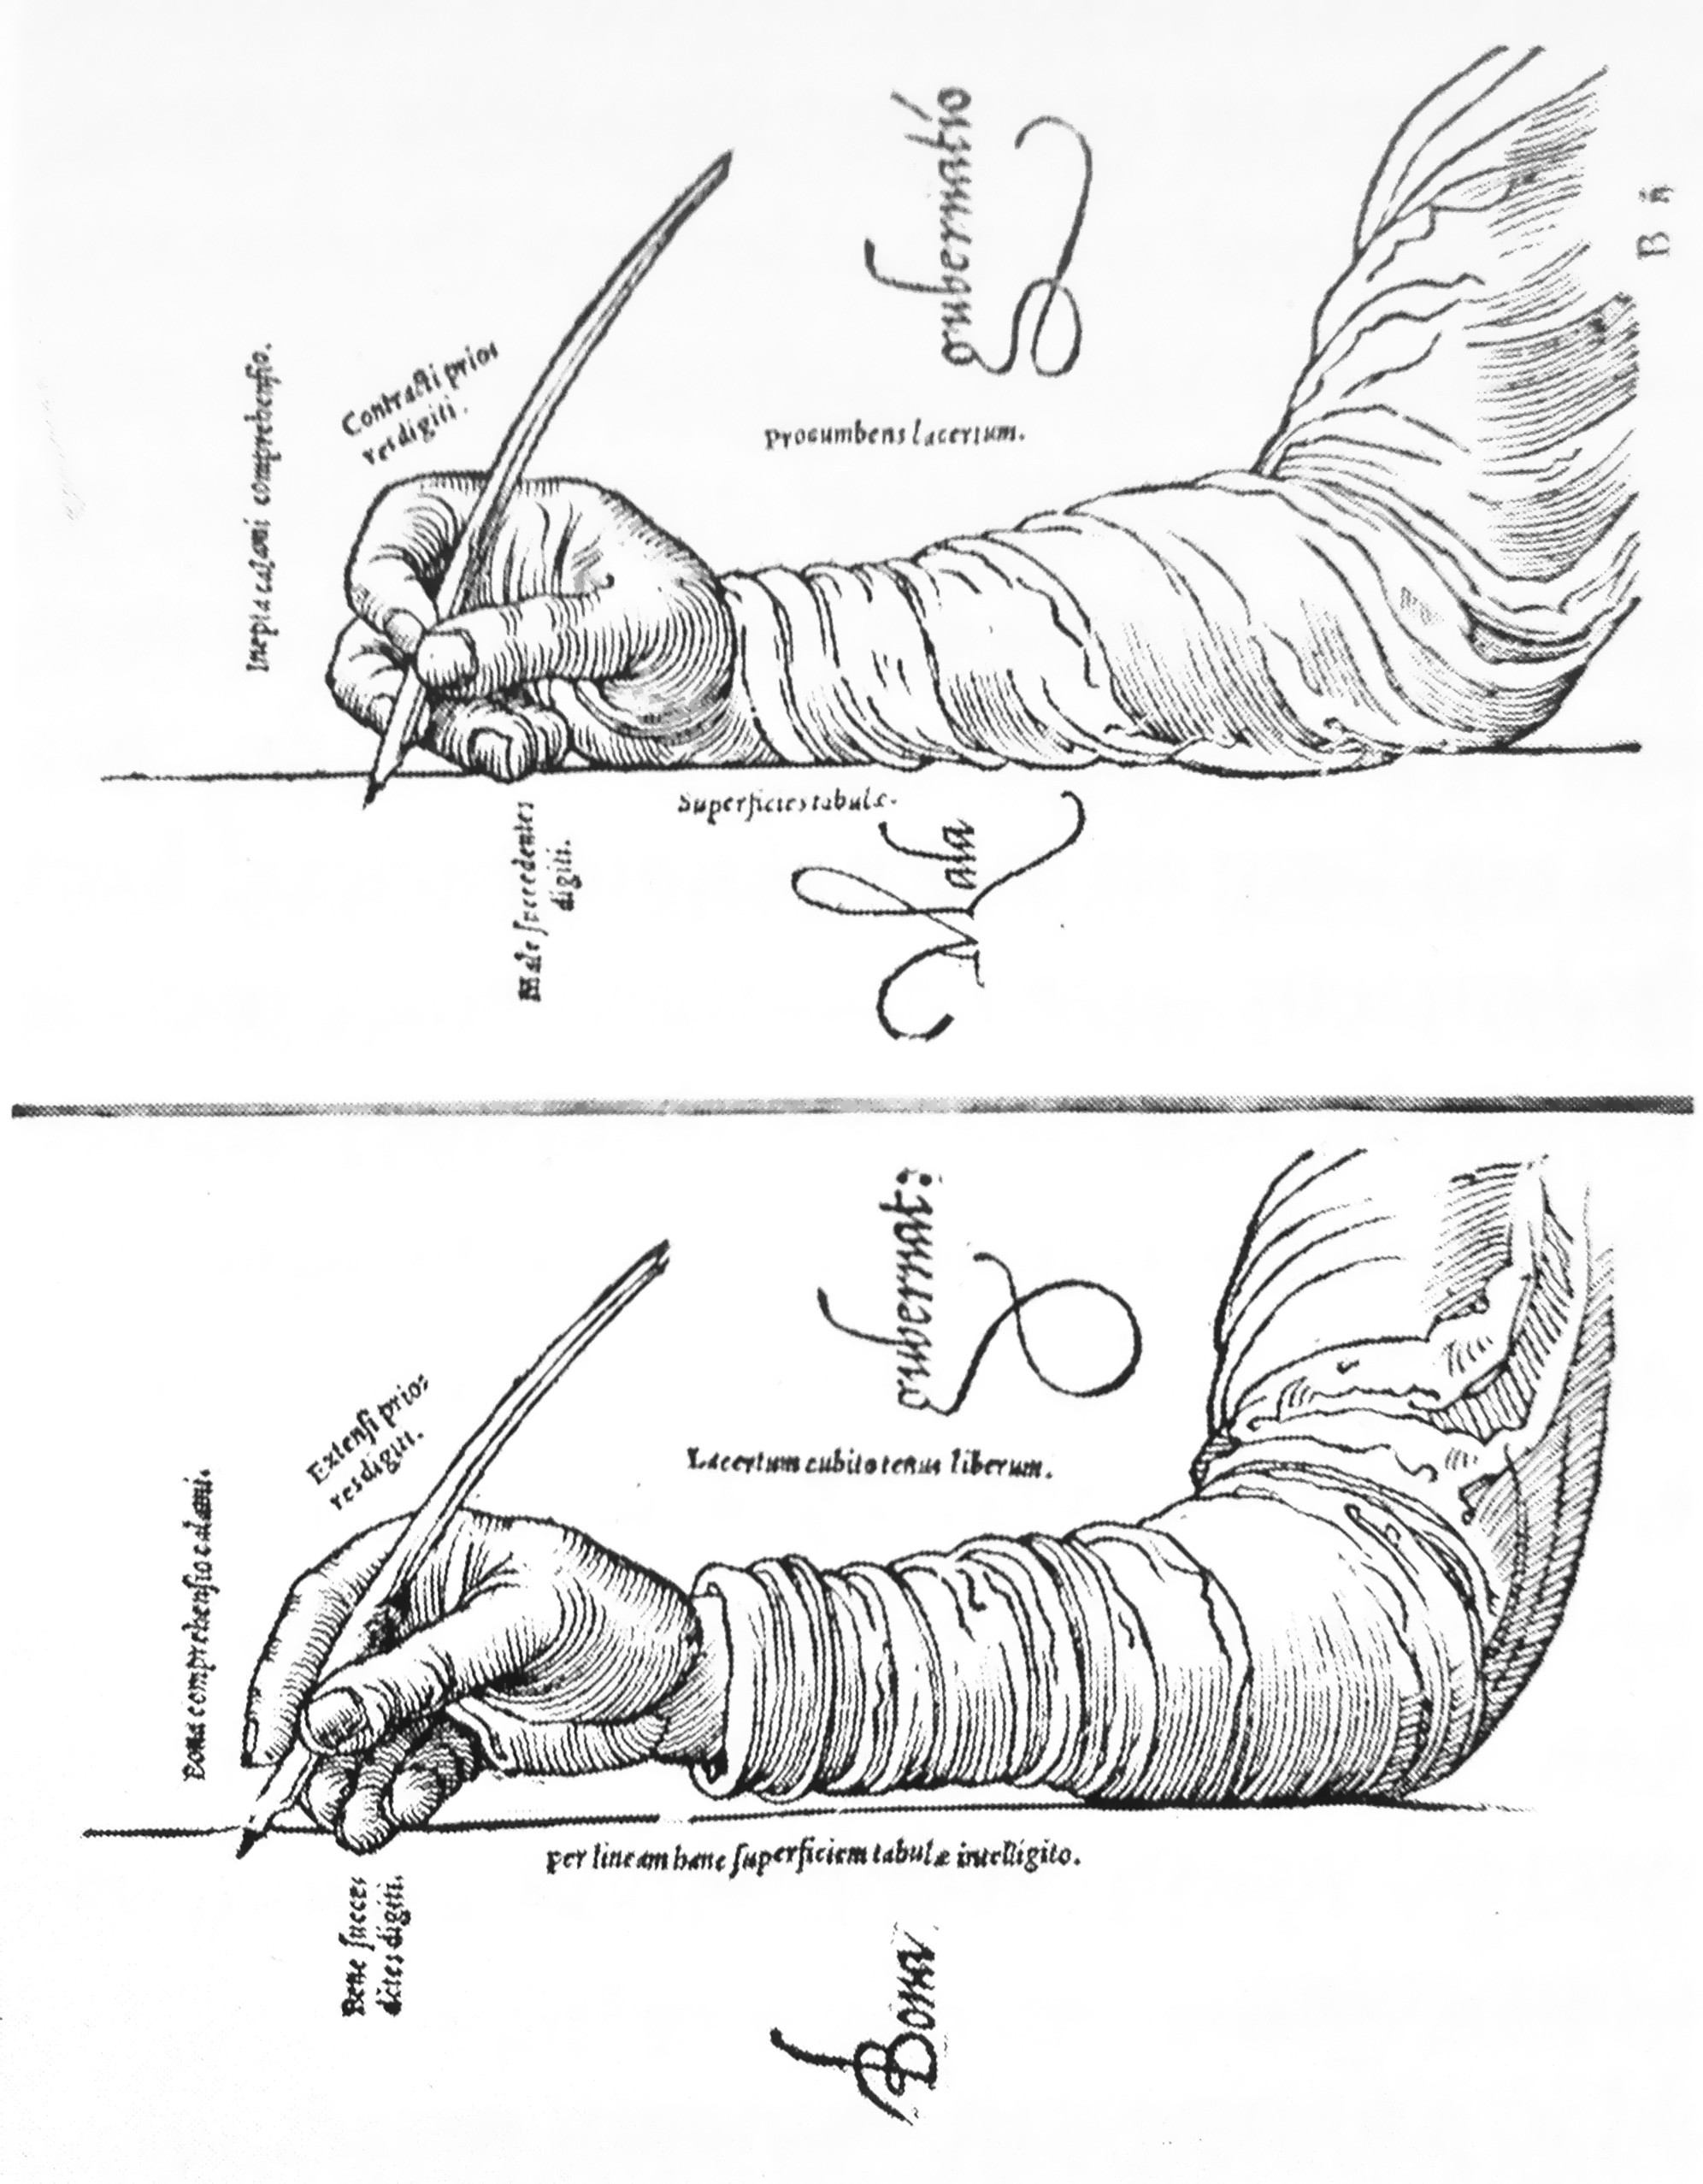
I just stumbled upon this drawing from Gerardus Mercator's Literarum latinarũ, quas italicas, cursorias- que vocãt, scribendarũ ratio, from 1549. It shows the 'proper' way to hold a pen when writing on maps:

Not very helpful in regard to your question, but it gives it a little historical context :)
