20

I usually use a regular pencil to sketch what I would like to paint very faintly, but I find that no matter how light it is, it can still be seen under the painting. Once the paint is dry, I can't seem to erase the pencil marks. Usually I end up drawing outlines over my watercolour in black pen or markers to seem like it was supposed to be like that to cover the pencil.

Is there a better way to make the preliminary sketch under a water colour so I don't have to cover it later with black marker? Are water colour pencils the better choice? And if I do use watercolour pencils, how do I make sure the colour evens out with the paint application (if the paint layer is thin and watery)?

0

8 Answers 8

23

Watercolor is, by its very nature, a transparent medium and so it becomes really quite difficult to manage this. However, there are a couple of things you can do to help:

  1. Draw very lightly and then use a kneaded eraser to lift the lines that you have left. The remaining lines will be much more faint than had you just drawn as light as you can.

  2. Draw on normal drawing paper and then use a lightbox to show the drawing through to your watercolor paper. This way you don't even draw on your final painting.

  3. Erase the area you're about to paint. So, do it first, rather than after the fact. If you keep it small enough, you should be able to remember. It's pretty similar to working with kneaded erasers, but you're not making the line fainter, you're removing it.

  4. Go loose! Don't do an initial drawing at all, but use a reference and simply loosely paint it. That's one of the really neat things about this medium, it lends itself to a free style that's hard to do with other paints.

Watercolor pencils won't really work for your purpose in this situation. It's likely that the colors will be slightly different from your paints, so getting an exact match will extremely difficult, especially if you're blending your own colors. Marks from the pencils are hard to blend in a wash situation. However, you just go all watercolor pencil, then you can control your destiny as it were. I'm a fan of the medium.

Finally, line and wash with the right subjects look really great, so don't necessarily feel like you're making a sacrifice to use a liner pen. If you want it to look better, look at being a little less precise with the lines, break them up a bit, and maybe skip some areas. In other words, use the lines to create variance in the image to your advantage in those conditions.

8

It would be helpful to know the thickness/density of your paper. The specifics, grades, etc. are beyond your question. However, you can look at the cover of your pad or pack, refer to your supplier if you buy singly, or do some experimenting.

For the sake of your question, I'll refer to the standard labeling of 90 lb, 140 lb and 300 lb. 90 being very thin (think card stock), 140 being heavy card stock and 300 being visibly thick, about the thickness of a slice of average supermarket pre-sliced cheese. These are very general terms. Look you what you use and prefer.

Now, with increased density comes increased opacity.

Thickness: "Grade" your paper on a scale of one to three (given the general descriptions above)

Texture: Your paper may be as smooth as silk (which could affect the issue—harder to "hide" pencil marks on smoother paper, harder to erase on heavy paper—though this isn't a hard-and-fast rule because I don't know your style (which is also a factor in being able to really help you).

Style: Watery? Dense? How do you prepare your paper (if at all?). There aren't too many rules with watercolor - except those you need for a specific style or goal.

Possible solutions/steps:

First/always, miniaturize your problem. Use small pieces of the paper you prefer (don't get something different) and try these things out. You may come up with a better process than anything I've thought of):

  1. Create the trace/transfer line image in deep dark Sharpie (or graphite) on tracing paper or vellum depending on which of my methods you choose, your style, materials, etc. The darker your trace, the more exact your composition will be. This image will either be backwards or not.

  2. Transfer your outline on the BACK of your paper in favorable conditions so that you can see the outline through when you are looking at side you're going to paint on. If this works, tape the line drawing to the back carefully. You do NOT want it to slip. In fact, this can be done in sections, depending on your style and skill. Light tables can be fairly weak, a really sunny window can be better sometimes. Important: you may need a drape or turn out indoor lights to see enough detail, even with a lightbox.

Note: If you wet/tape your paper first, don't use anything water soluble to make your trace. If you do not wet/stretch first, experiment on small chips of paper to see what works best for you. Keep them for reference.

  1. Stop using lines, at least at first. Think connect-the-dot pictures. If you can see your image through the back well enough, no pencils needed. Put the faintest "markers" on the front of your paper using extremely faint paint, let this dry. Use as little paint as possible. Let your dots, or hints dry. If you can't see them well enough, make sure you have a good light, tilt your paper, make your guiding dots a shade darker. Use the colors you'll be using. I have found that the faintest of lines can be seen (after drying) to guide me.

  2. Draftsmen often use a type of pencil, a non-photo blue pencil. Try frisket to block paint from going where it shouldn't. Also a sharp chalk pencil (dove grey) if you must trace onto your surface is a possibility. Experiment on small pieces of the paper and paint you use (paint quality matters, too).

Projectors can be handy and time saving I guess, but good ones are pricey. Using printable watercolor paper could be worth a try if the quality has advanced at all. I DO use the computer to print out 8 X 10 sections of a large piece if it has to be an exact likeness. Whatever method works best for you, USE it!

I use heavy paper and all the methods I've described with success. Again, Everything depends on your style and materials. If you care to be a little more specific on these, all of our questions would be better.

In closing, using most watercolor paper weights will allow you to be exacting in your art without touching a pencil to it.
1
  • It might be worth linking to a source that provides standard paper labelling references that includes metric/imperial conversions as the outside of the US paper weight would be gsm rather than lb. For example this site paper-papers.com/paper-weights.html
    – BeaglesEnd
    Commented Jan 5, 2017 at 13:34
3

I am going to assume by 'normal pencil' you mean you are using a number two/2B graphite pencil, so I'm sorry if that is not the case. It might help to instead use a harder pencil, like a 3H or 4H to draw your sketch in lightly. The lines on harder graphite pencils will be much fainter than a normal pencil, and as long as you are drawing gently should be easier to erase after your first wash dries.

3

There are special pencils to be used with water, the lines of which will dissolve in water.

Watercolour pencils
These are designed for use with watercolour techniques. The pencils can be used by themselves for sharp, bold lines. Strokes made by the pencil can also be saturated with water and spread with brushes.[70]

(From this Wikipedia page about pencils.)

That might be enough for you, keeping the same lines you are used to but them fading into the paint. But I guess you may still need to make your lines as light as possible and maybe remove them with a soft eraser, to leave the least colour before you are starting to paint.

Or you can use the pencil line as your source of colour instead of the paint you use now.
Experimenting will teach you what works best for you.

But where you need to have some gear for the lines behind the paper methods, the water colour pencils will allow you to work everywhere with just one small set of pencils.

1
  • This seems to be the most elegant option. The most upvoted post mentions watercolour pencils, but sees no merit in them, as the colours would need to match, but this is far less of a problem since they usually contain light and little pigment, and are likely close to the desired localized hue.
    – Joachim
    Commented Apr 23, 2020 at 23:14
2

If you have the equipment, you can use a projector and computer to project a digital sketch or plan on to your work without leaving any traces of the planning process. This works best with larger images, as it can be very difficult to project onto a small surface area, depending on your setup.

1

If you transfer your sketch to the back of translucent paper using light grey or light tan erasable pencil you can flip the paper over, backlight it, paint, dry fully, spray with watercolor fixative, dry and then completely erase the pencil on the back. This also leaves no pressure grooves from the pencil lines.

2
  • 3
    It looks like this is only half of your answer.
    – Catija
    Commented Jun 7, 2017 at 4:09
  • @Catija I removed that half of a sentence, since the user doesn't appear to return, and it's still a valid and useful answer.
    – Joachim
    Commented Apr 23, 2020 at 23:17
0

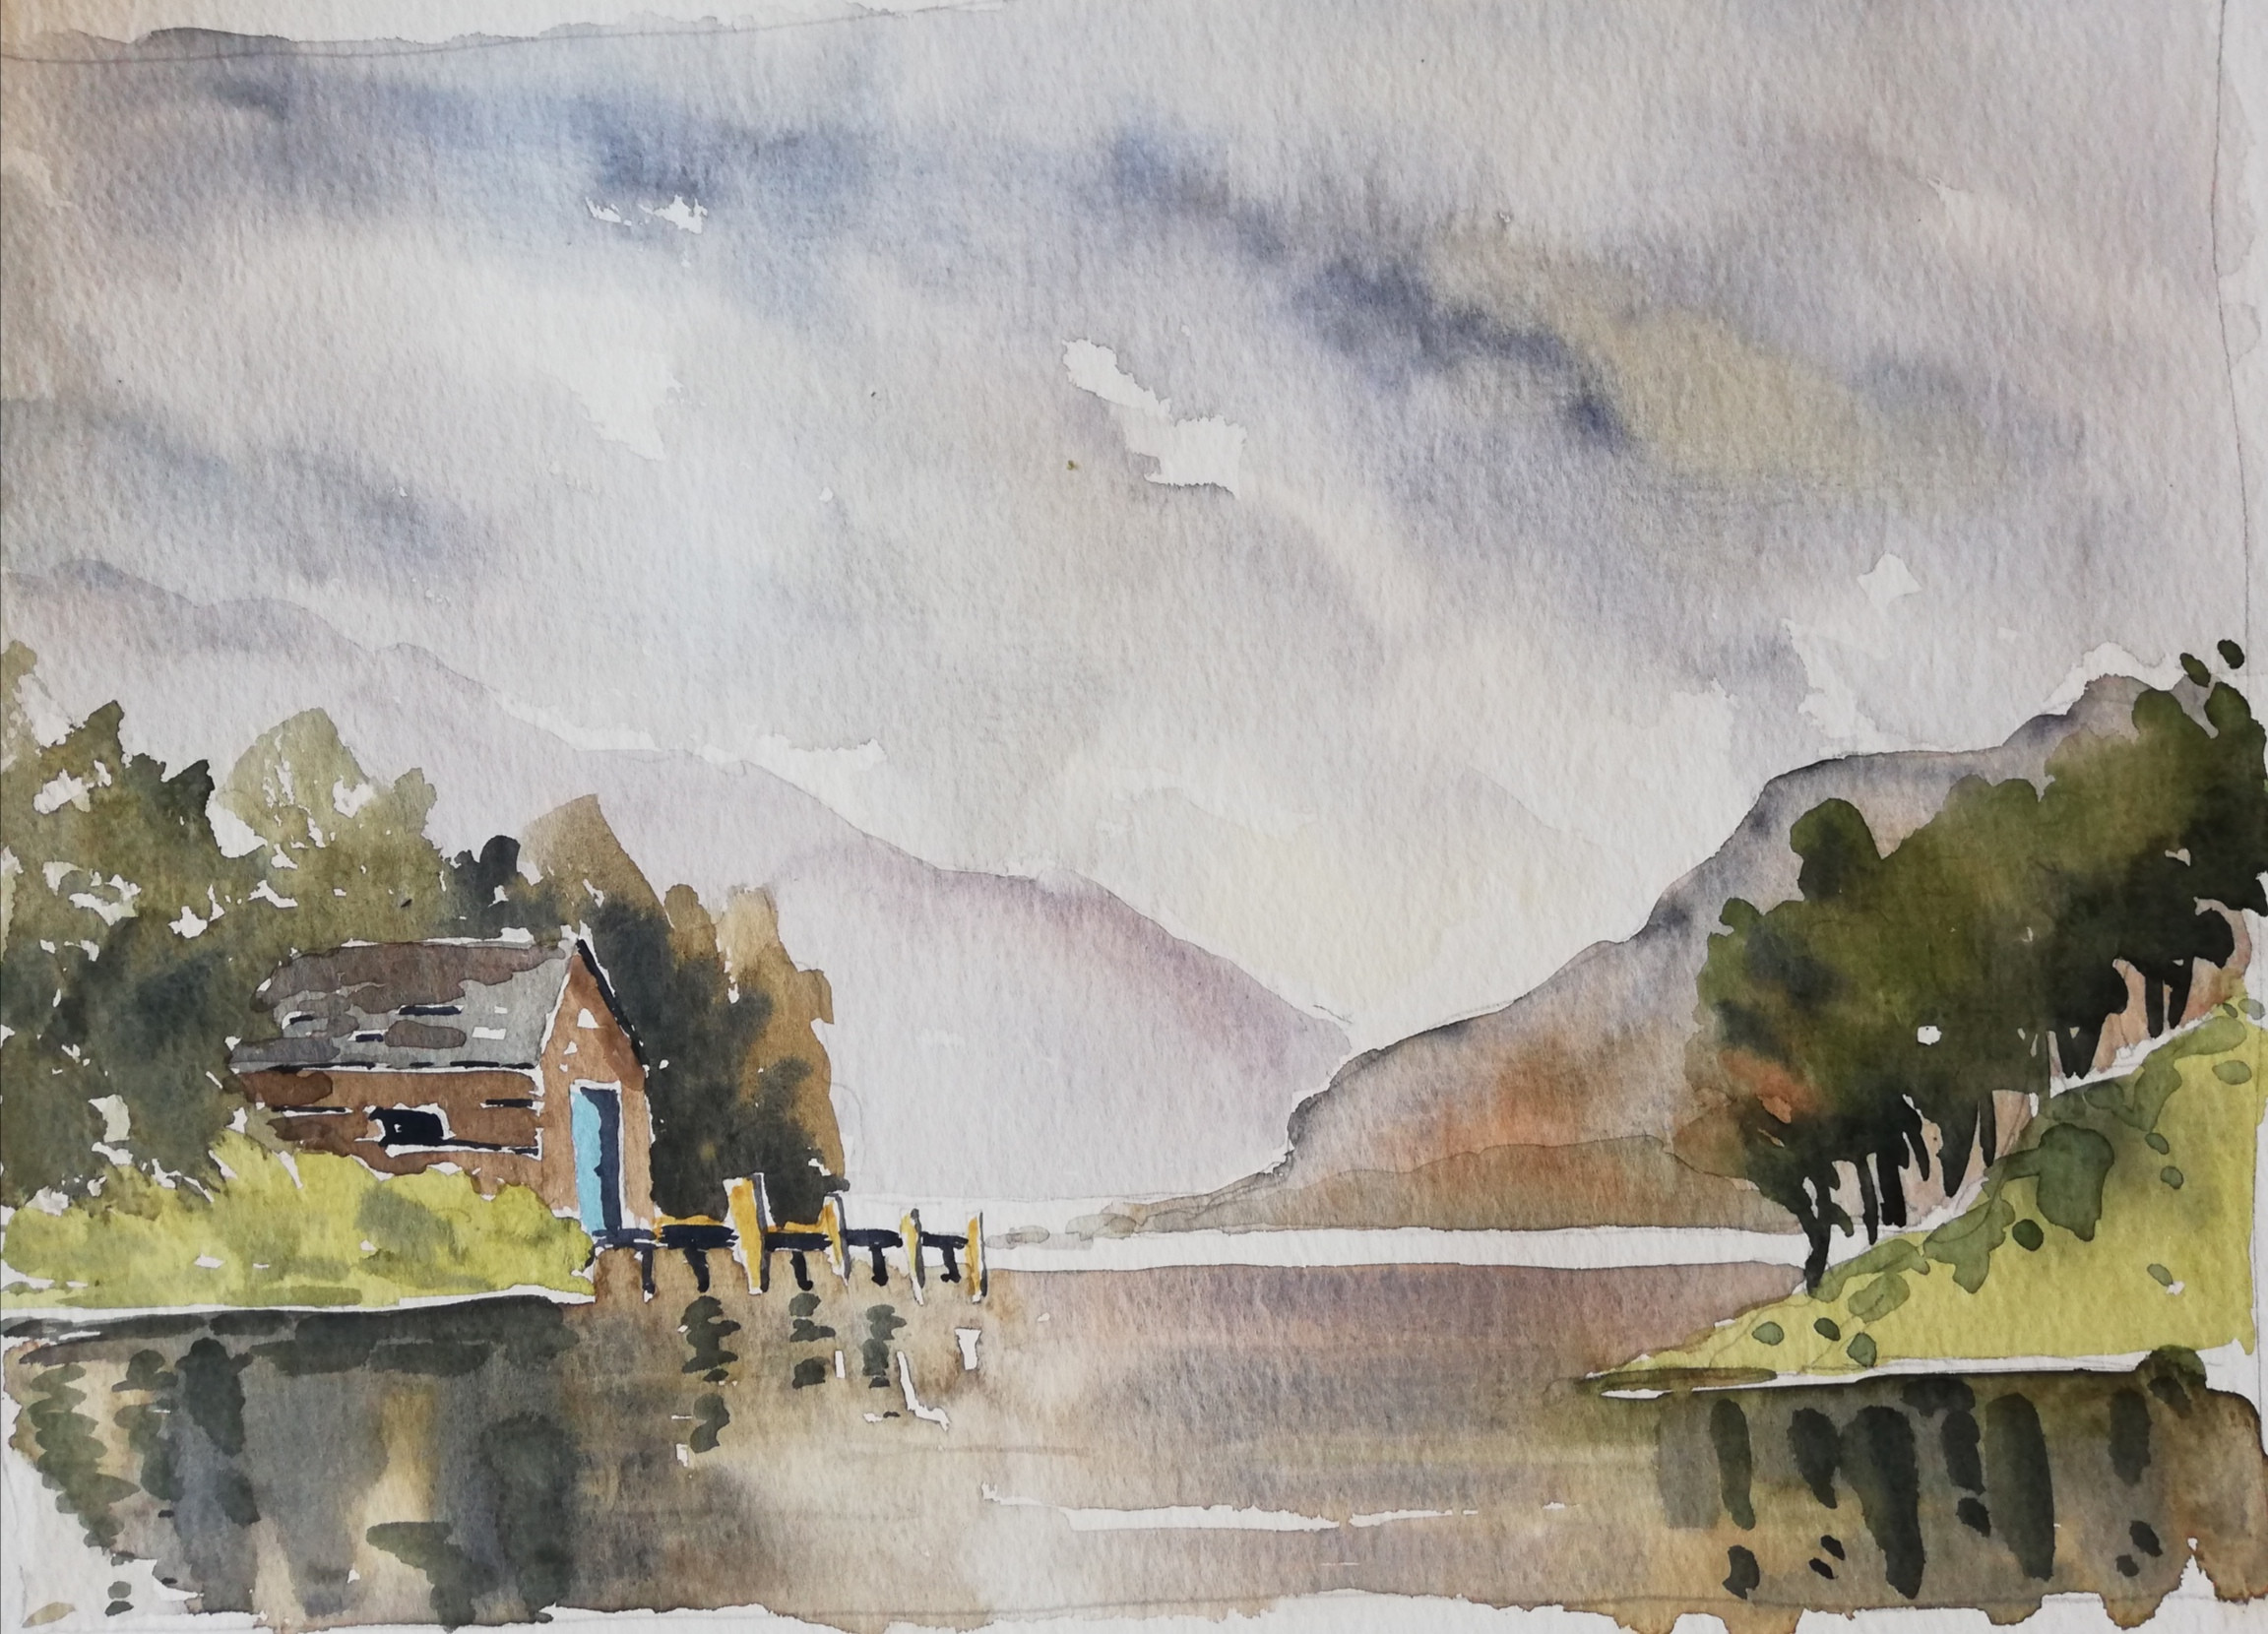
I find that with Bockingford paper I can still rub out the pencil, even though it's under the paint! Other than that I don't think it matters really if it shows through anyway.

Here the drawing was erased without the paint rubbing out:

enter image description here

0

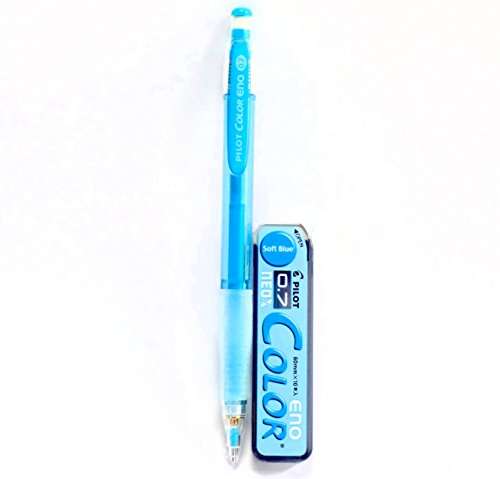
Pilot's Color Eno leads work great for outlines.

Using the light blue variety is quite light to start with, lifts easily and whatever is left tends to dissolve while painting over it in the painting process. Making it excellent for under sketch for drawing out comics, paintings, and drafting. Erases easily, and draws smoothly.

Source image:

enter image description here

You must log in to answer this question.

Not the answer you're looking for? Browse other questions tagged .