Yes and no.
Standard Tripod
Assuming you're working on a horizontal plane, such as a flat desktop, you're probably using the standard grip (also known as the writing grip or tripod grip) for your pencil. This grip is good at doing fine detailed work and short strokes. That makes it very helpful for doing all the methods you mentioned, when the scale is small. That is to say, when the strokes you're making are small and detailed. You can do very fine crosshatching on a very large piece, or do large crosshatching on the same piece. When drawing at an incline, such as on an easel or drafting table, this grip is generally only used for detail work.
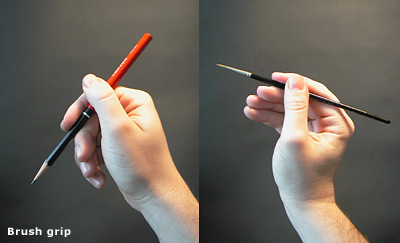
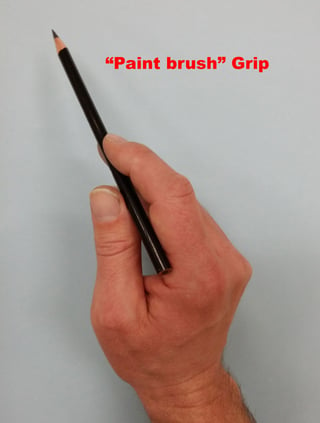
Paintbrush/brush Grip
This grip has you hold the pencil further up the shaft and along your index finger (see pictures). This grip makes it easier to apply lighter strokes to your piece. If your shading method requires you to apply strokes of different pressure, this grip may help you more. Building up your values one "layer" of shading at a time is a very common method, used with or without the aid of blending. The standard grip makes it easy to press too hard, often making the brush grip a better choice for building up value.
You can combine the pressure control with any of the methods you listed.


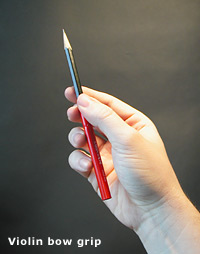
Underhand grip
I call this one underhand, but I've seen it called violin bow grip and also drumstick grip. Basically, you hold the pencil between the tips of your thumb and index finger, but your palm faces up (see picture).
The site I used for the picture already has a great explanation of what kinds of shading this is used for:
This grip is the preferable basic drawing grip. It does not need a propped arm, and the motion range is limited only by your arm span; it produces flowing, economical sweeping line and is ideal for rough sketching, hatching and tonal work with the side of lead. It works best on big page and a near-vertical plane (paper pinned to board), and is the preferred grip in academic drawing. It enables working with the lead’s side, for darker flowing lines and shading. It cannot be used with Wacom stylus.
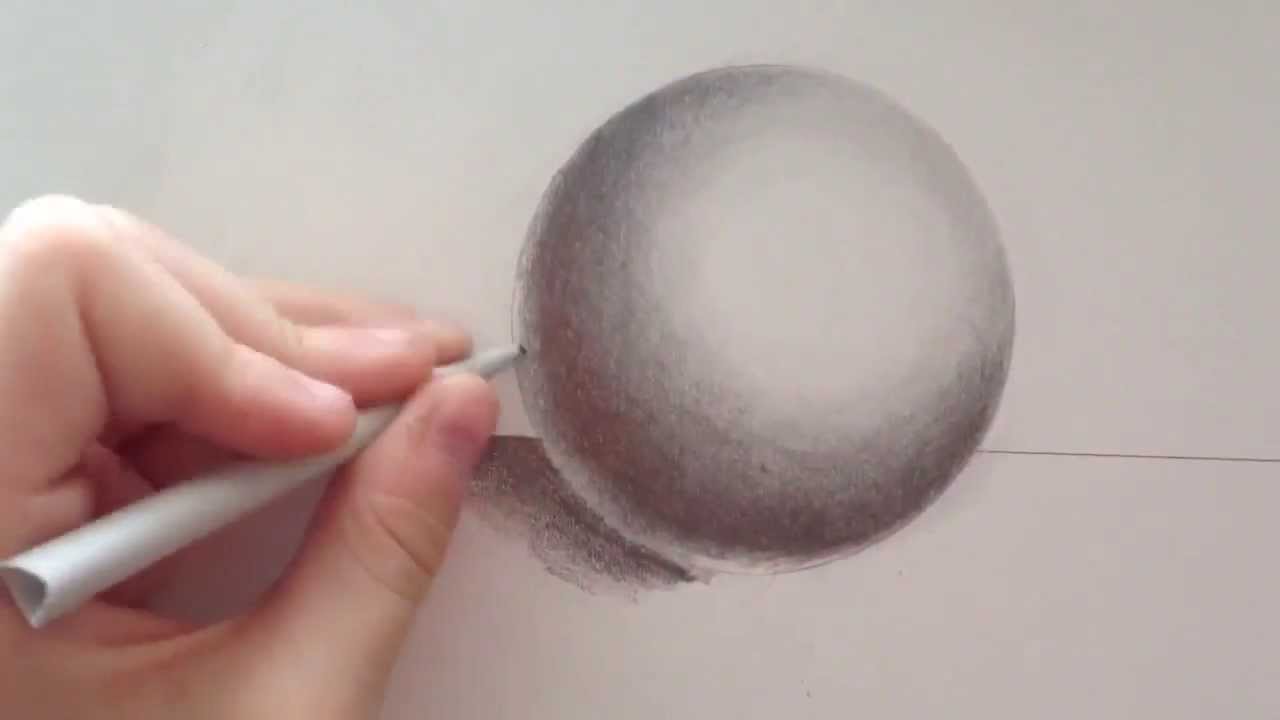
This really is the best grip for using the side of the lead, especially when you're using a properly-sharpened pencil. Using the side of the lead allows you to lay down varying widths of solid tone. That makes this grip ideal for certain types of blending.
This grip also allows you to make fairly detailed hatch/crosshatch marks, although not as detailed as the standard grip. Generally, when you use this grip you keep your wrist stiff and move the pencil with your shoulder and elbow. However, you can flick your wrist to get some consistent, finely detailed lines.
The downside of this grip hinted at in the quote: you can't use it when drawing on a horizontal surface. You need an incline and room for your elbow to move.
You'd find it pretty hard to do detailed work with this grip, or do any sort of stippling/dotting.

Other grips
There are other grips out there, but the point here isn't to list the pros and cons of them all. These are the 3 basic grips, and the rest are essentially variations of them.


