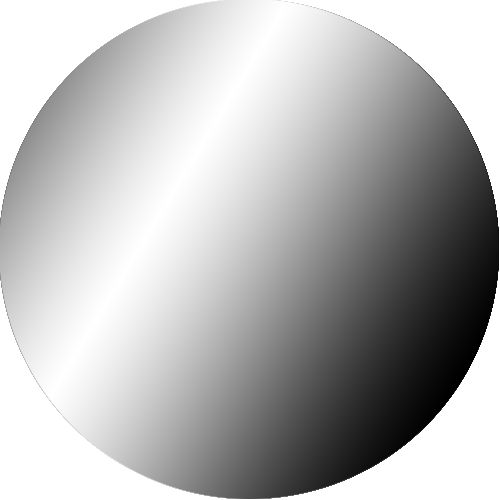
When I think of "shading with the contours", I think of having your lines follow the perspective contours of the object. So, in a sphere your strokes or shadow edges will be curved, as the shadow wraps around the surface. On a cube, your strokes can be flat and straight.
If you think of your object in wire-frames, it may help to decide which way to place the shading. Keeping those contour lines in mind may help you to visualize when and how much to curve or straighten the strokes or edges of your shading.
Unfortunately, I'm not able to demo this at the time, but I mainly use mental wire-framing as a visualization technique. It's something that came from me drawing box-and-cylinder mannequins for figure drawing.
You can practice visualizing these contours, without doing all the work of shading, with something called crossed-contour drawing. There's a great many search results crossed-contour drawing, so I'd use them! It's one of those things where you have to practice, in order to train both your eyes and your hands to understand what's going on.
If you're having too hard of a time figuring out how to make the contours, you can try finding images of wire-frame models, such as "wire-frame face". You can use these images to see how a wire-frame maps to a real object. One nice thing about this approach is that you can find 3D models for programs such as Maya. These models are intended for sale, but the sample images generally show the fully rendered (colored & shaded) object plus the wireframe of the object in the same position. That direct side-by-side may be very helpful for you.
When you don't have your shading follow your contours, you end up with results like this:

The shading on this square has circular contours, like you'd see on a sphere, so it makes the shape seem rounded or bowed, which isn't the effect you want for a flat plane.

This circle has clear linear gradation, instead of curved contour shading. Instead of looking like a sphere, this looks like a bent coin at best.

